
In Part One of this post I went through the tools that are necessary to get you from having an idea to having your pattern cut out. Now we are going to move on to the tools needed to construct our garments.
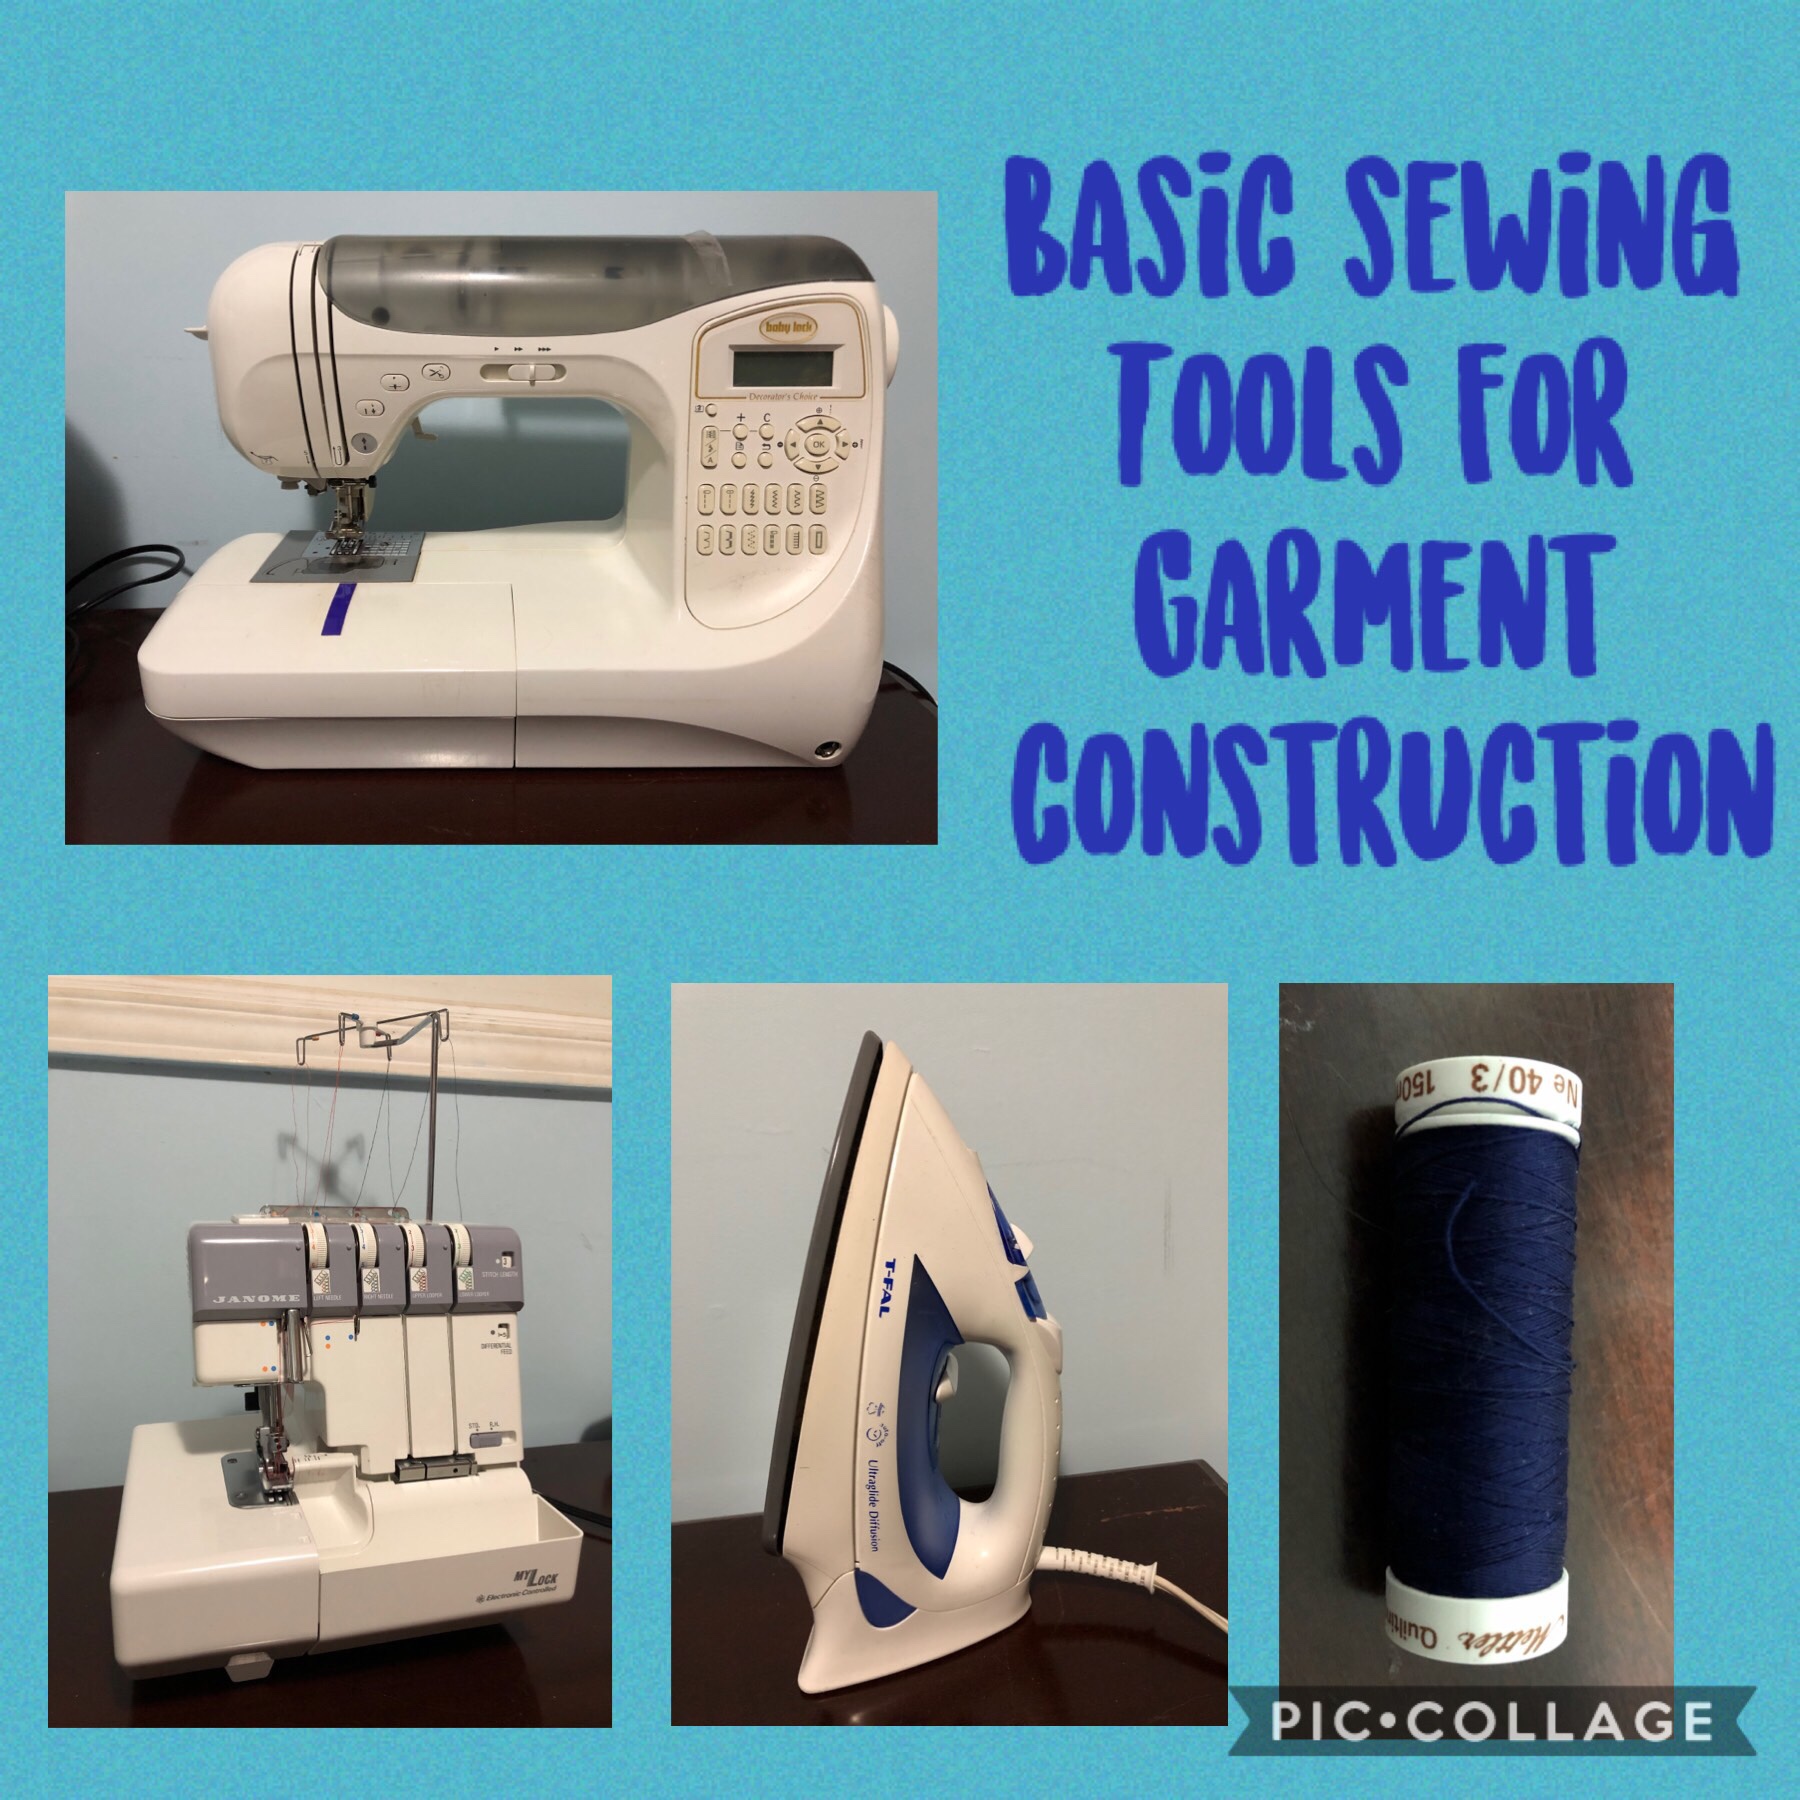
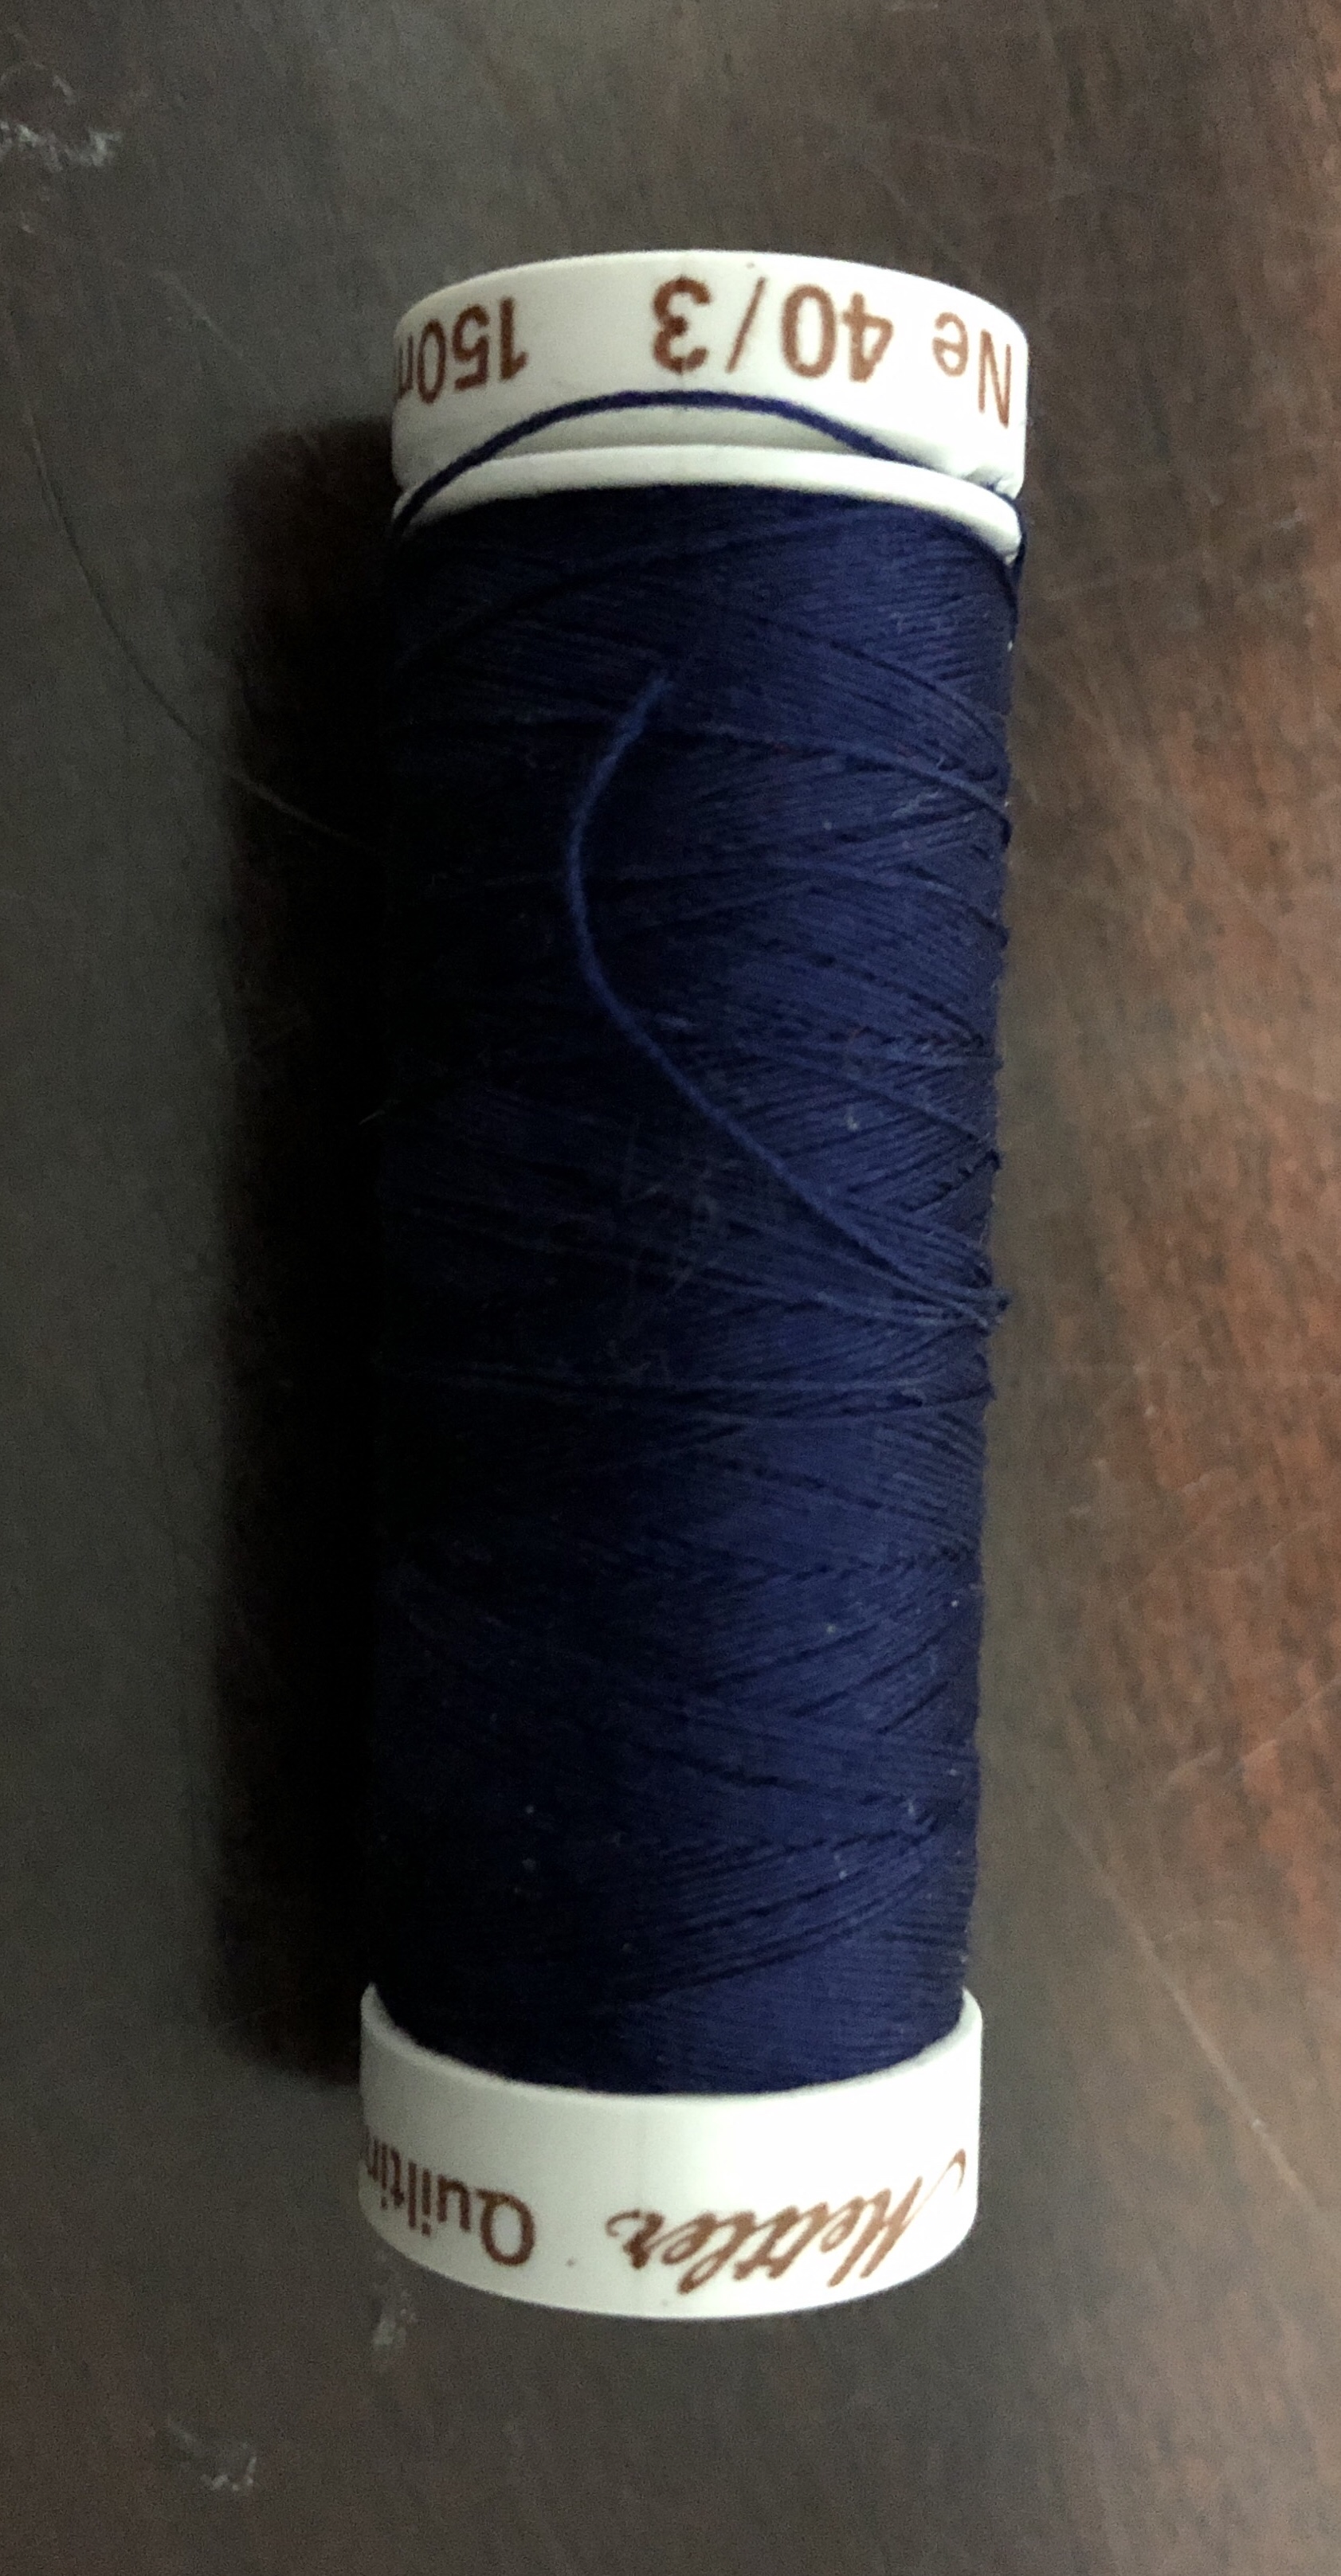
First check your pattern to see if your pattern requires any NOTIONS. That would be something like elastic or buttons or zippers. You also need matching THREAD. If you didn’t pick up your thread when you bought your fabric then take a scrap of your fabric (small piece you don’t need anymore) to the store to colour match the thread. How many spools of thread and which type of thread you get will depends on which type of machine you are using.
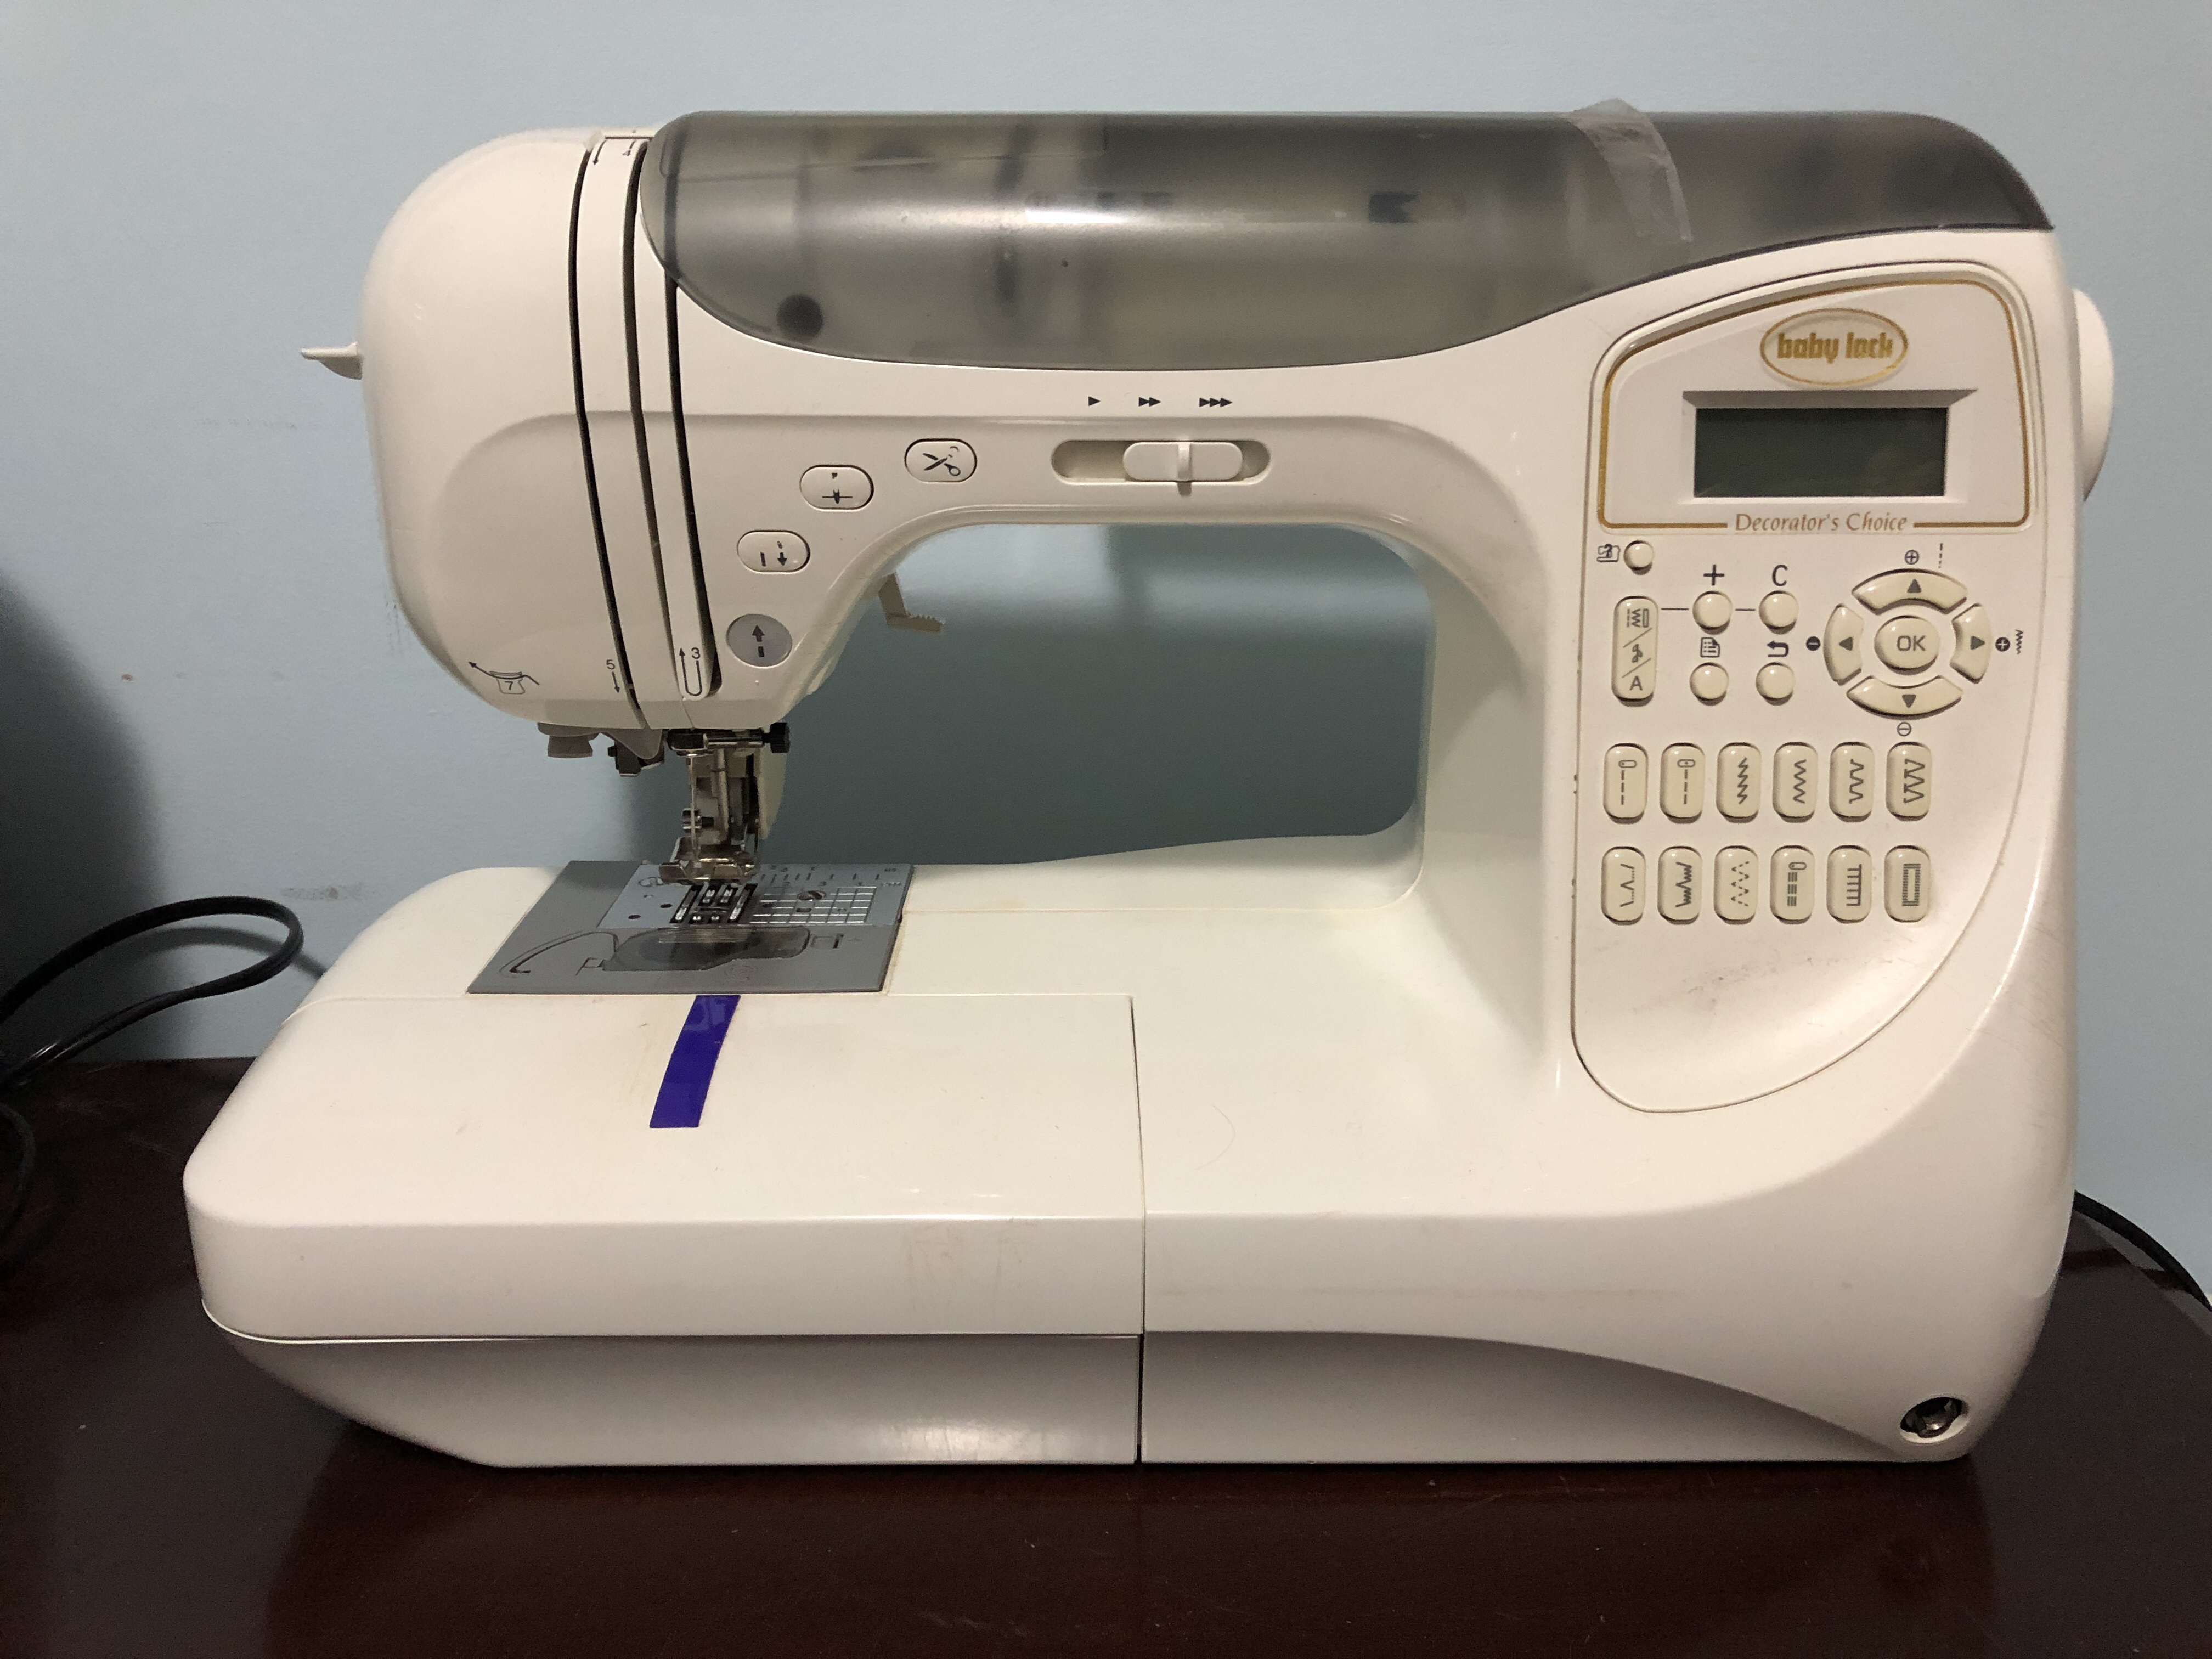
There are a lot of different types of machines with different features and price points. The basic type is a SEWING MACHINE. You can make a garment from start to finish with a sewing machine, so long as it has a stretch stitch of some kind. Personally I hate my sewing machine for knits. It works just fine on woven fabrics but it doesn’t like knits, it prefers to eat them. It is a hand me down machine from my mom (who is a quilter) I’ve had it cleaned and serviced a couple times, I’ve tried different techniques but it still misbehaves some times. Other machines work well with Knits. I usually have better luck on my mom’s current machine than mine. The one thing a sewing machine can do that my other machines can’t is basting (a set of loose easily removed stitches meant to tack something in place so it can be secured properly later).
Make sure that you use the appropriate needles for both your machine and your fabric. For knit fabrics you will want a stretch or ballpoint needle. This goes for all of the different types of machines. Make sure you check your user’s manual and get the right size and type of needles for your machine.
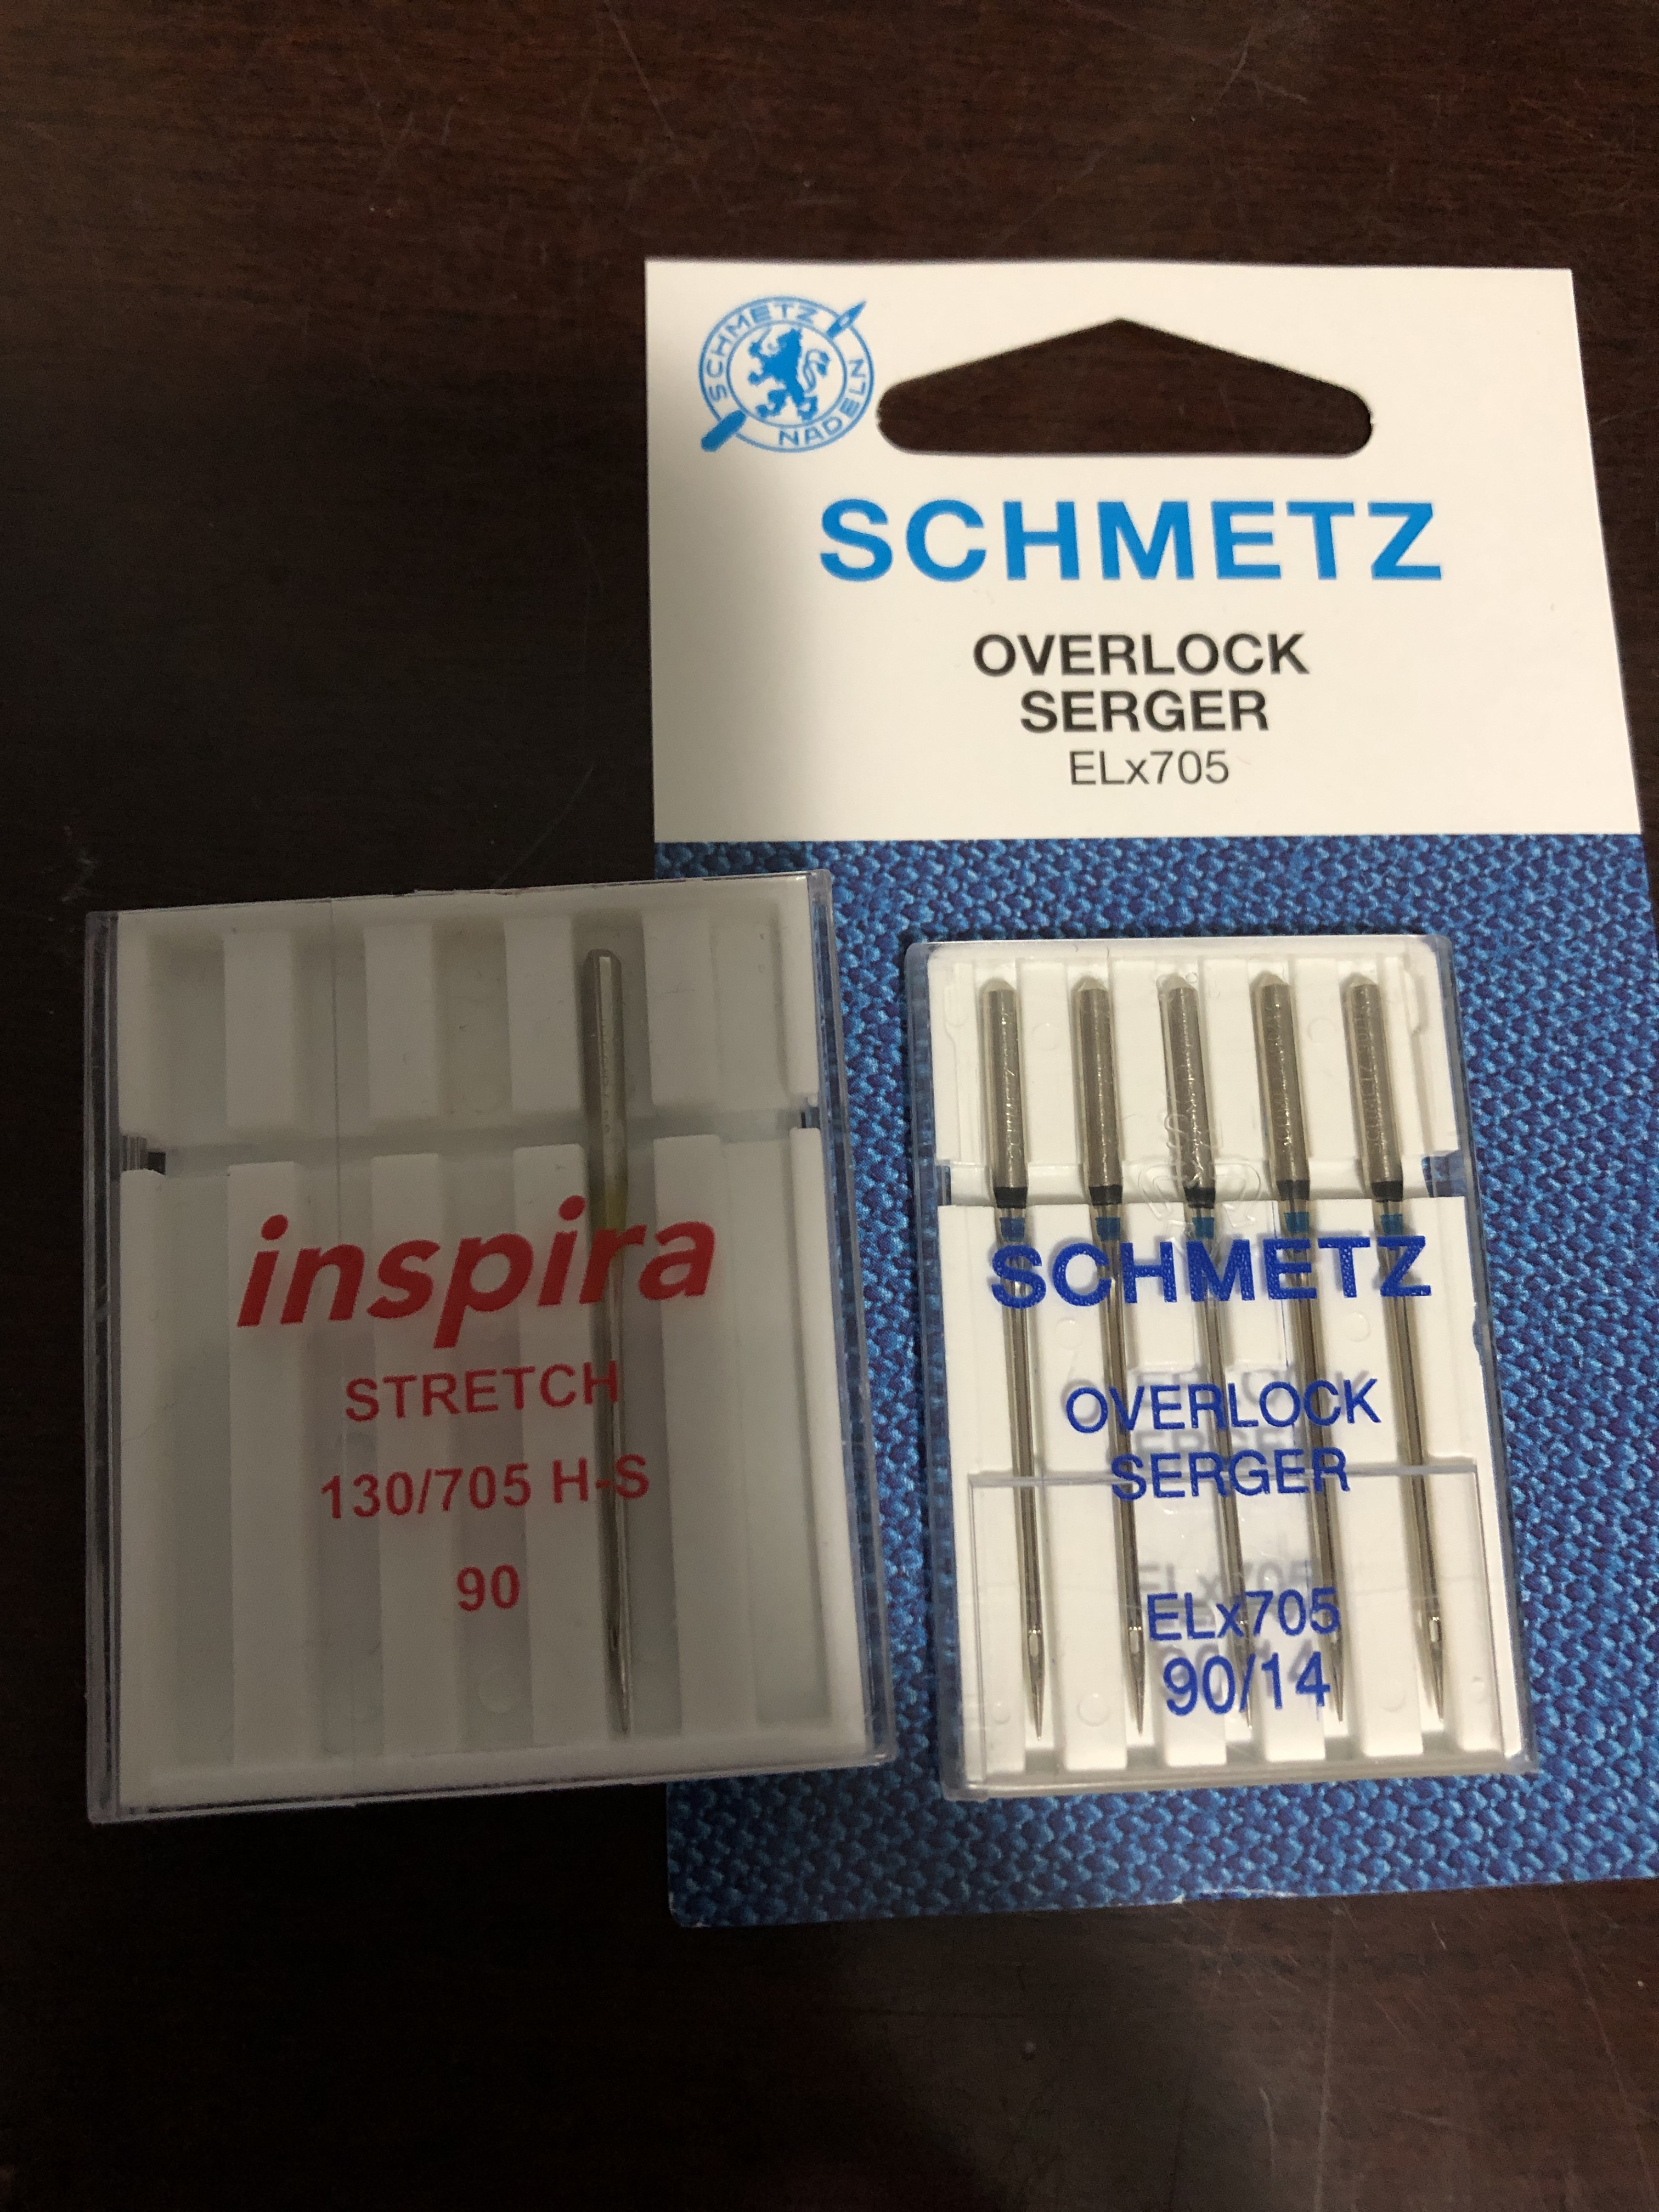
The most popular machine for working with knit fabrics is a SERGER (sometimes known as an Overlocker). For constructing garments you want a serger that uses at least 4 threads. There are also 5 thread sergers but I have no experience with them so I won’t go into that. A 3 thread serger won’t be enough on its own, you need the double needle of the 4 or 5 thread serger. Sergers are used to put the garment together. They can do also do a type of hem called a rolled hem but they can’t do a traditional hem.

You may ask “Why use a serger when a sewing machine can do everything?” Well there are a few answers to that question. The first reason is that sergers can handle knit fabrics more smoothly than a sewing machine. Plus sergers they don’t tend to eat knits. They make a stronger seam (less likely to rip a hole in your pants when you bend over). They also give a neater finish.
Although they can be intimidating to start, sergers are well worth the effort. You do need to get the tension right or you can end up with a huge mess, and the tension varies depending on how many layers you are putting through at once and how thick your fabric is. I’m still working on mastering tension, but I do have a good understanding of the basics, and only have to look at reference material occasionally to see what I’m doing wrong. I would much rather use my serger than my sewing machine any day though, and it isn’t that often I have to mess around with the tension. Sergers tend to be harder to thread than your traditional sewing machine, but it isn’t bad once you get the hang of it. Honestly I love my serger though and would totally recommend people get one if you enjoy working with knits as it really does make life so much easier.
The last machine in the line up is a COVERSTITCH MACHINE. This is the bonus machine. Makes life easier but isn’t necessary for a beginner. I just got my coverstitch machine for Christmas. Technically I bought it before Christmas with my Christmas money because I was making a lot of Christmas gifts for people this year and the thought of doing that much hemming on my knit fabric eating sewing machine was making me want to rethink my ambitious gift making plans. If the machine wasn’t a gift though I wouldn’t have considered buying one yet. Having said that I LOVE IT! It was my first time actually buying a machine, all my previous machines have been either hand me downs or second hand finds. Coverstitch machines are for hemming and top stitching. They make a very professional looking hem. That may not seem like much but like sergers they are designed for using knit fabrics so that takes hemming from a chore, to being fun. It meant I actually experimented with top stitching for the first time when I was working on my Christmas presents.

I would honestly recommend that instead of buying a machine online, do your research online, then if at all possible look up who the local authorized dealer is for the machine you decide you want, then go buy it locally. I ordered my coverstitch from a local quilting shop called “The Quilt Store” in Newmarket, ON. It wasn’t one they kept in stock but they were more than happy to order it for me. With the purchase of my machine I get a free class on how to use it. Now this probably isn’t case with every store but both of the ones I called and the one my mom used to work at do offer that class free. It is definitely worth asking.
I called the store to see if they had the type of needles required for thicker fabrics when my coverstitch started skipping stitches and no amount of playing with the tension fixed it. She asked if I had tried adjusting the differential feed. I hadn’t. Turns out that was the problem. That is the kind of service you don’t get from amazon. I’m looking forward to taking that class soon to learn more about my coverstitch machine, I might even take the serger 101 class to learn more about tension.
There are other types of machines out there too that are nice to have but not necessary for a beginner. There are embroidery sewing machines, and machines that can cut intricate designs out of vinyl that you can then press onto your clothes (for example Cricket and Silhouette machines). Then there are heat presses for adhering the vinyl to your creations, (or you can use an iron, but as I understand it the press works, better, but I’ve never tried one to compare.) There are other types of sewing machines out there, for other types of projects, but these are the ones that I have encountered that are relevant to sewing clothing.
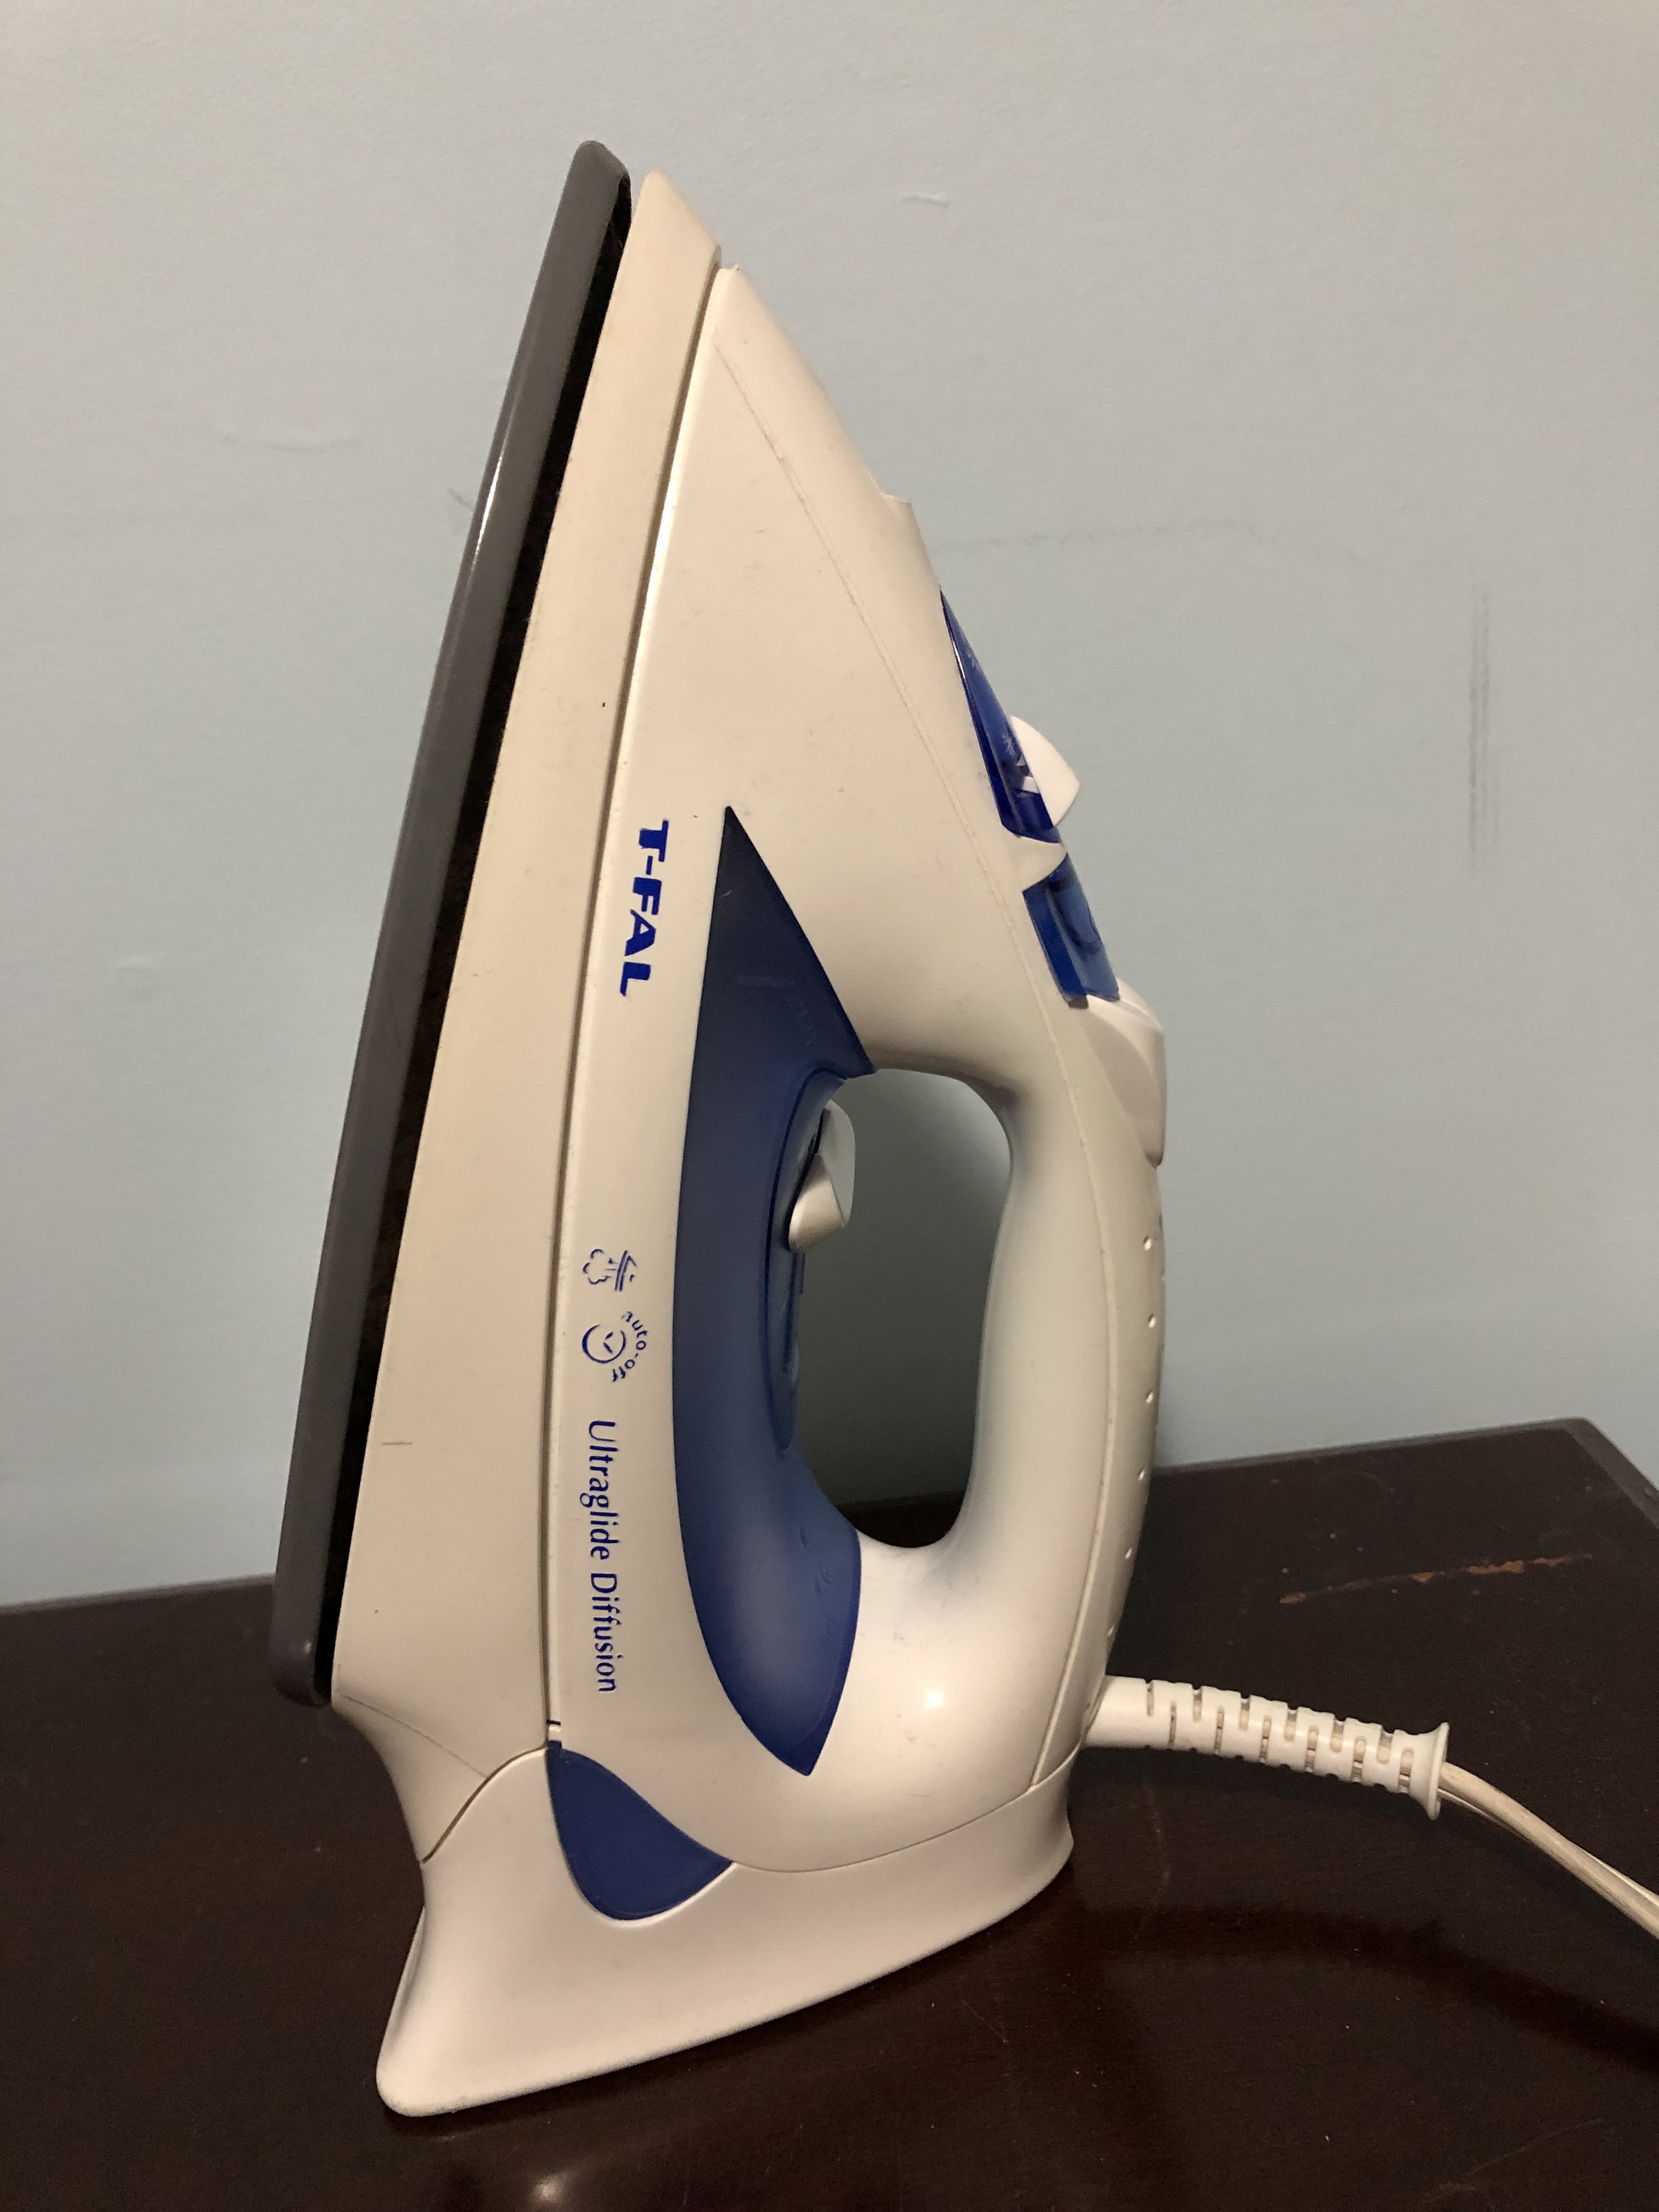
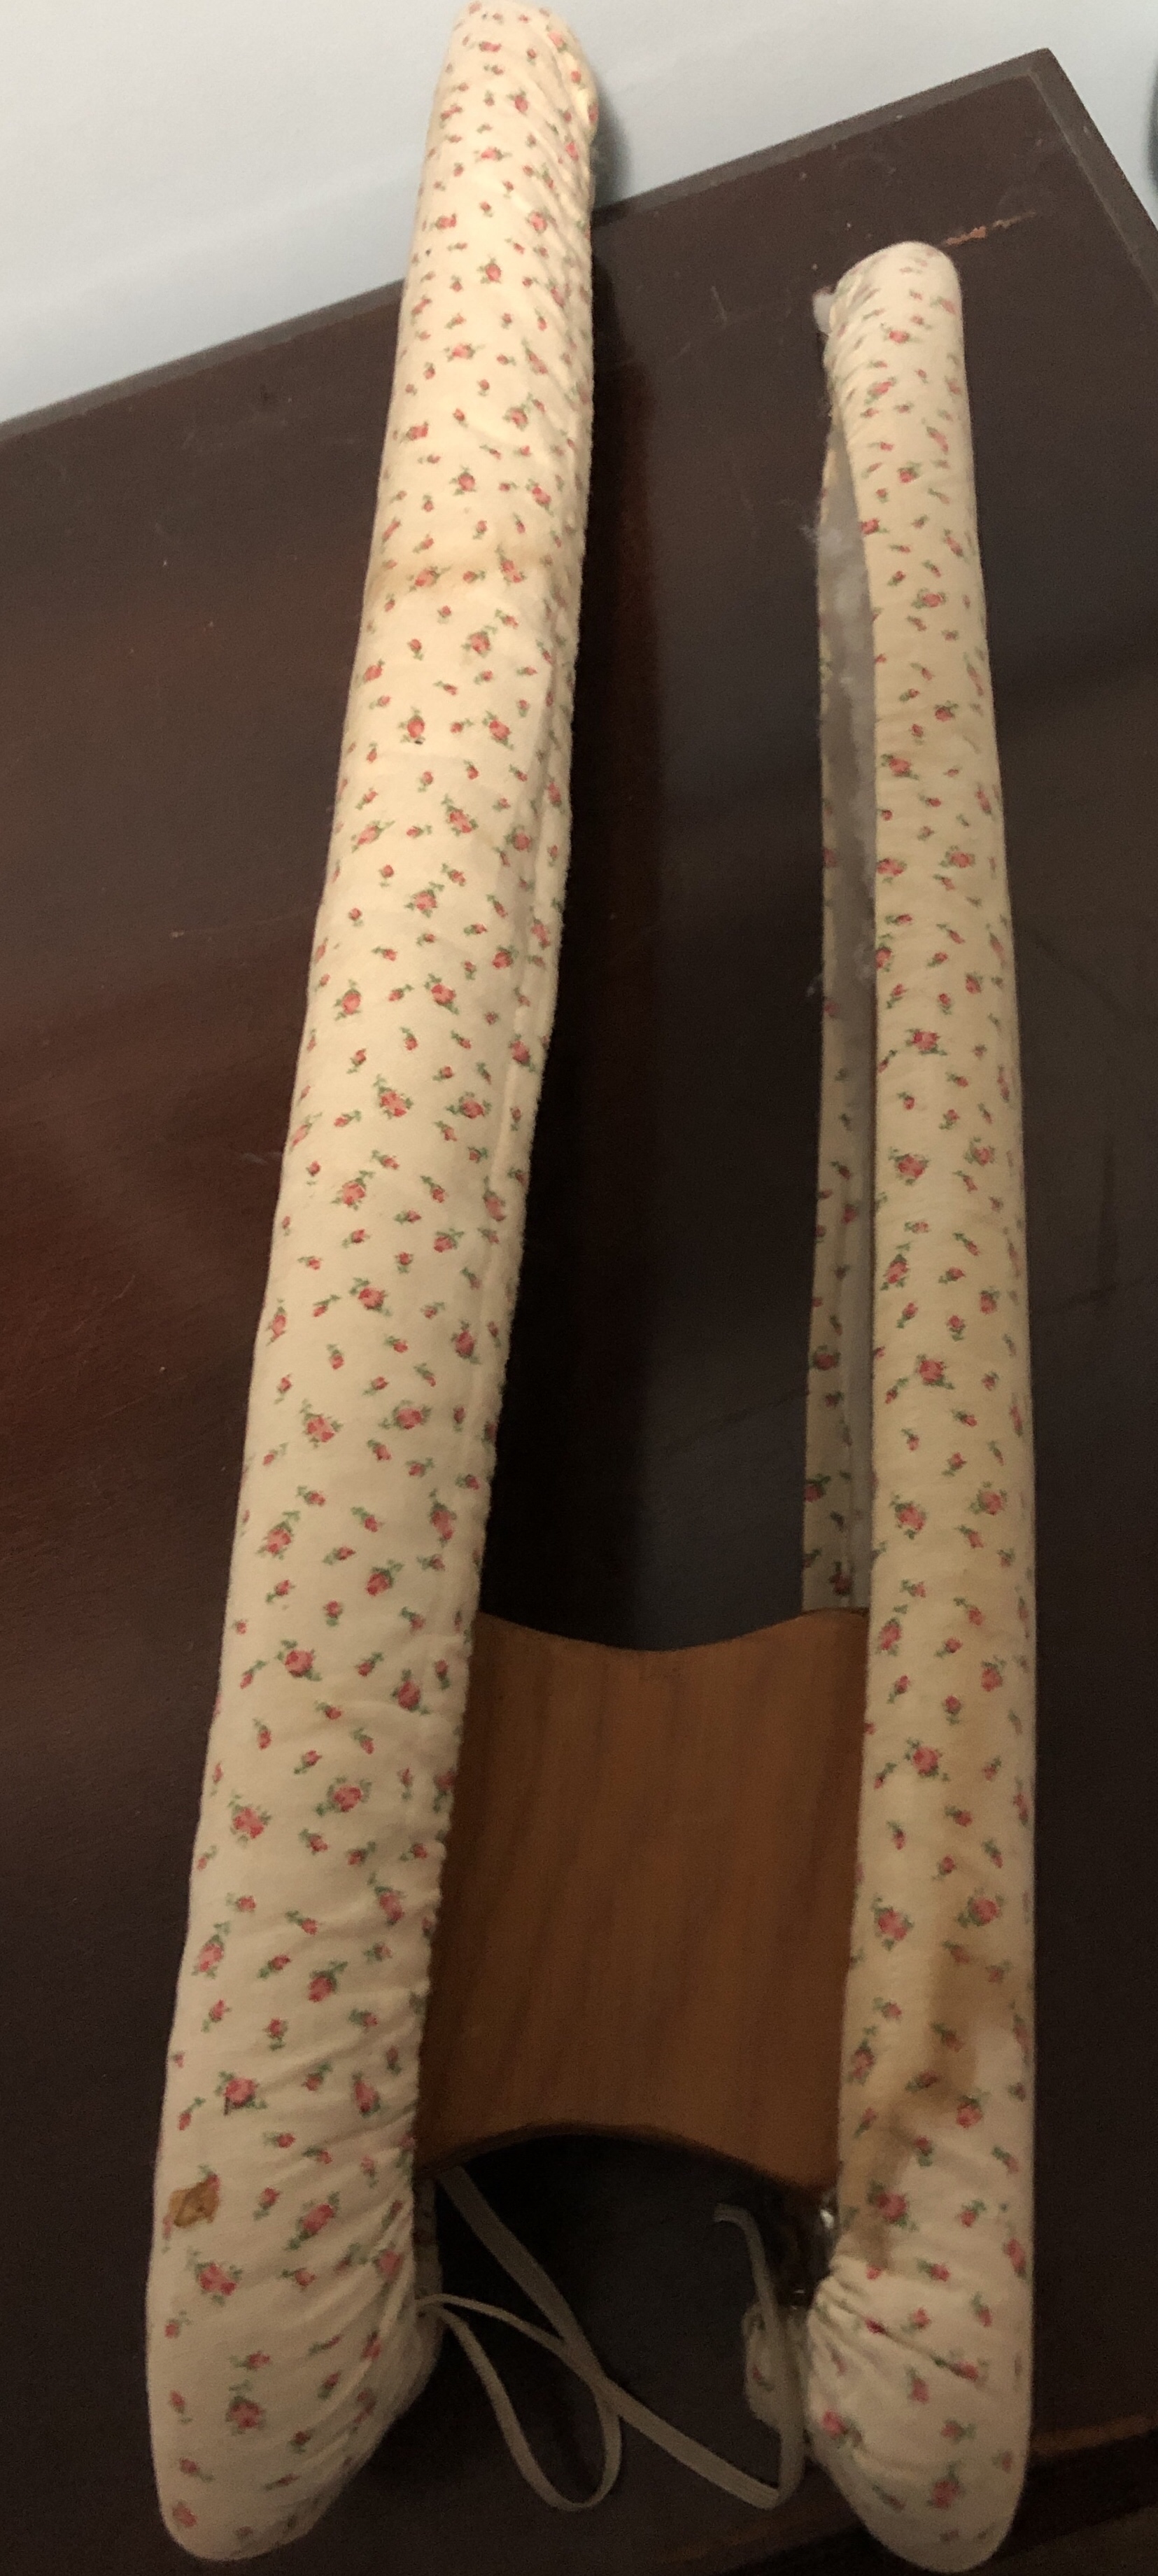
Ok let’s get back to the basics. During construction of your garment you will more than likely have to press something at some point. For that you will need an IRON and IRONING BOARD. I also have a smaller ironing board designed for ironing sleeves of dress shirts. I have limited space in my sewing area so if I am pressing something small I will just get out my little ironing board rather than my big one.
Other handy tools include:
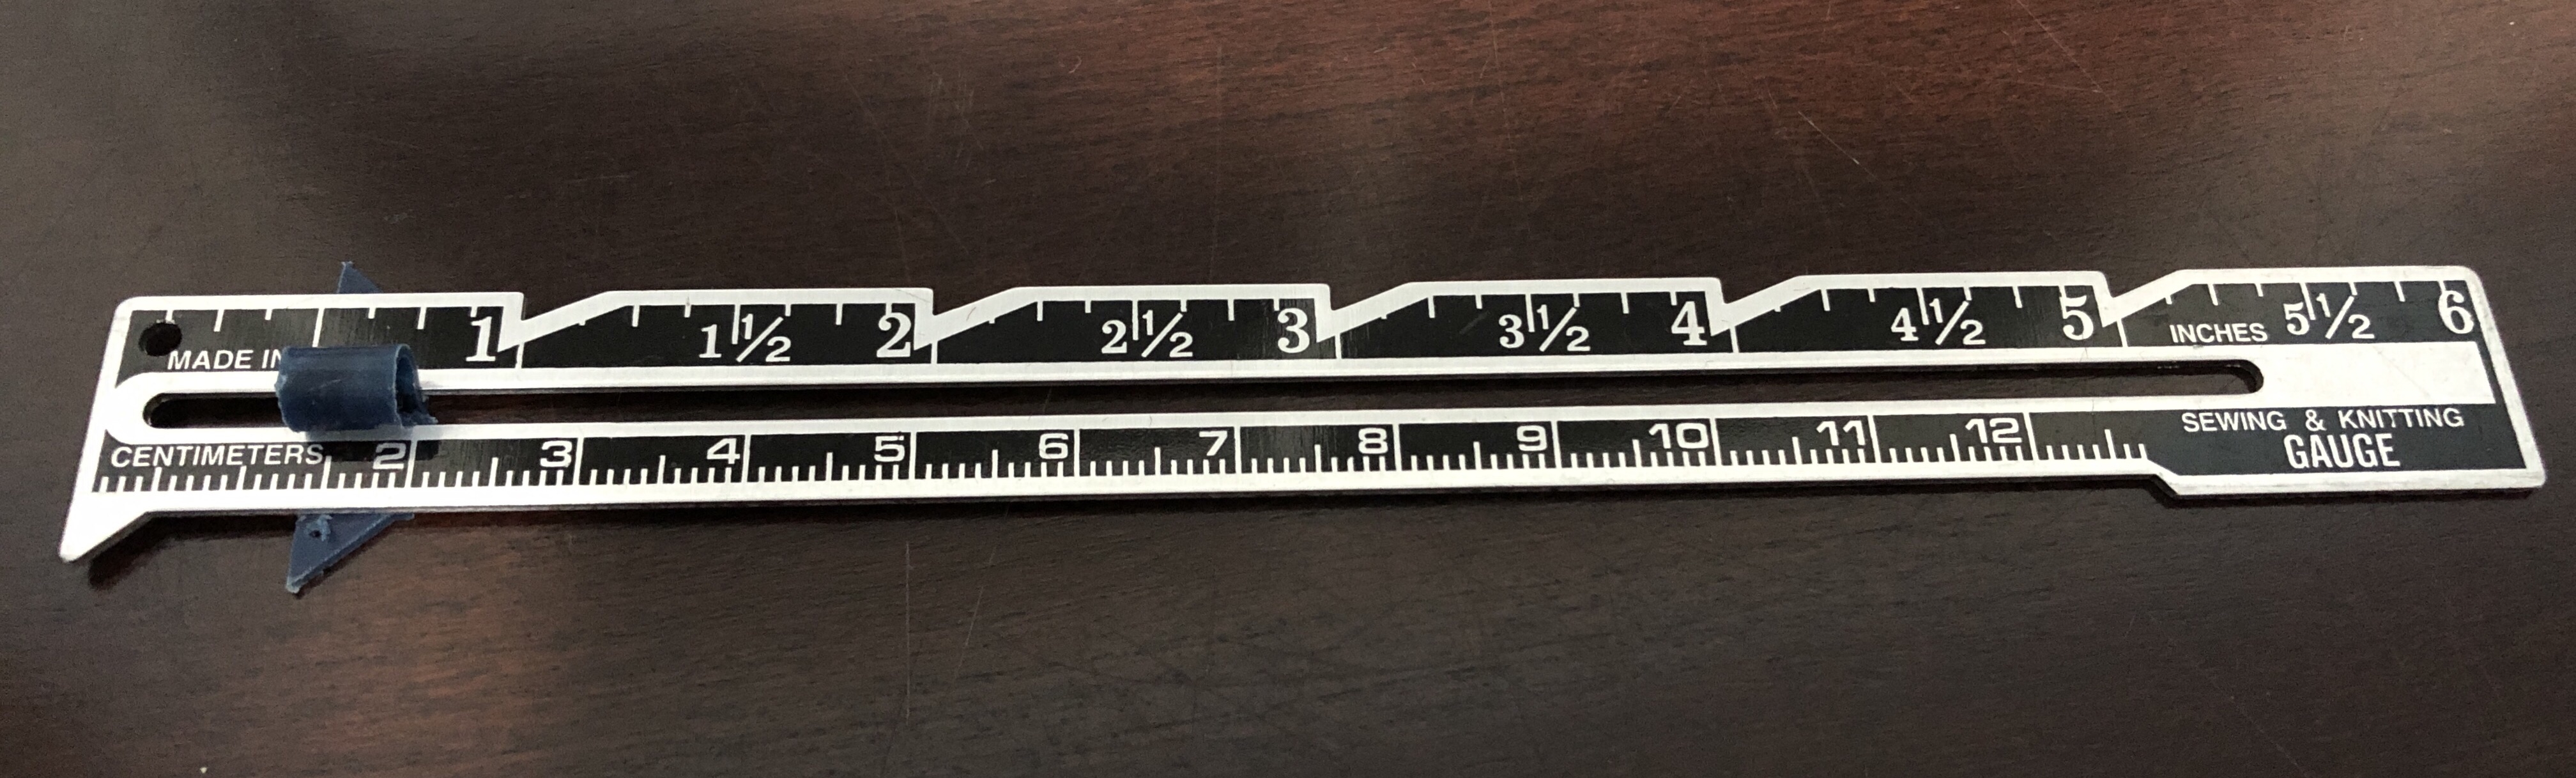
SEWING GAUGE for measuring out your hems.
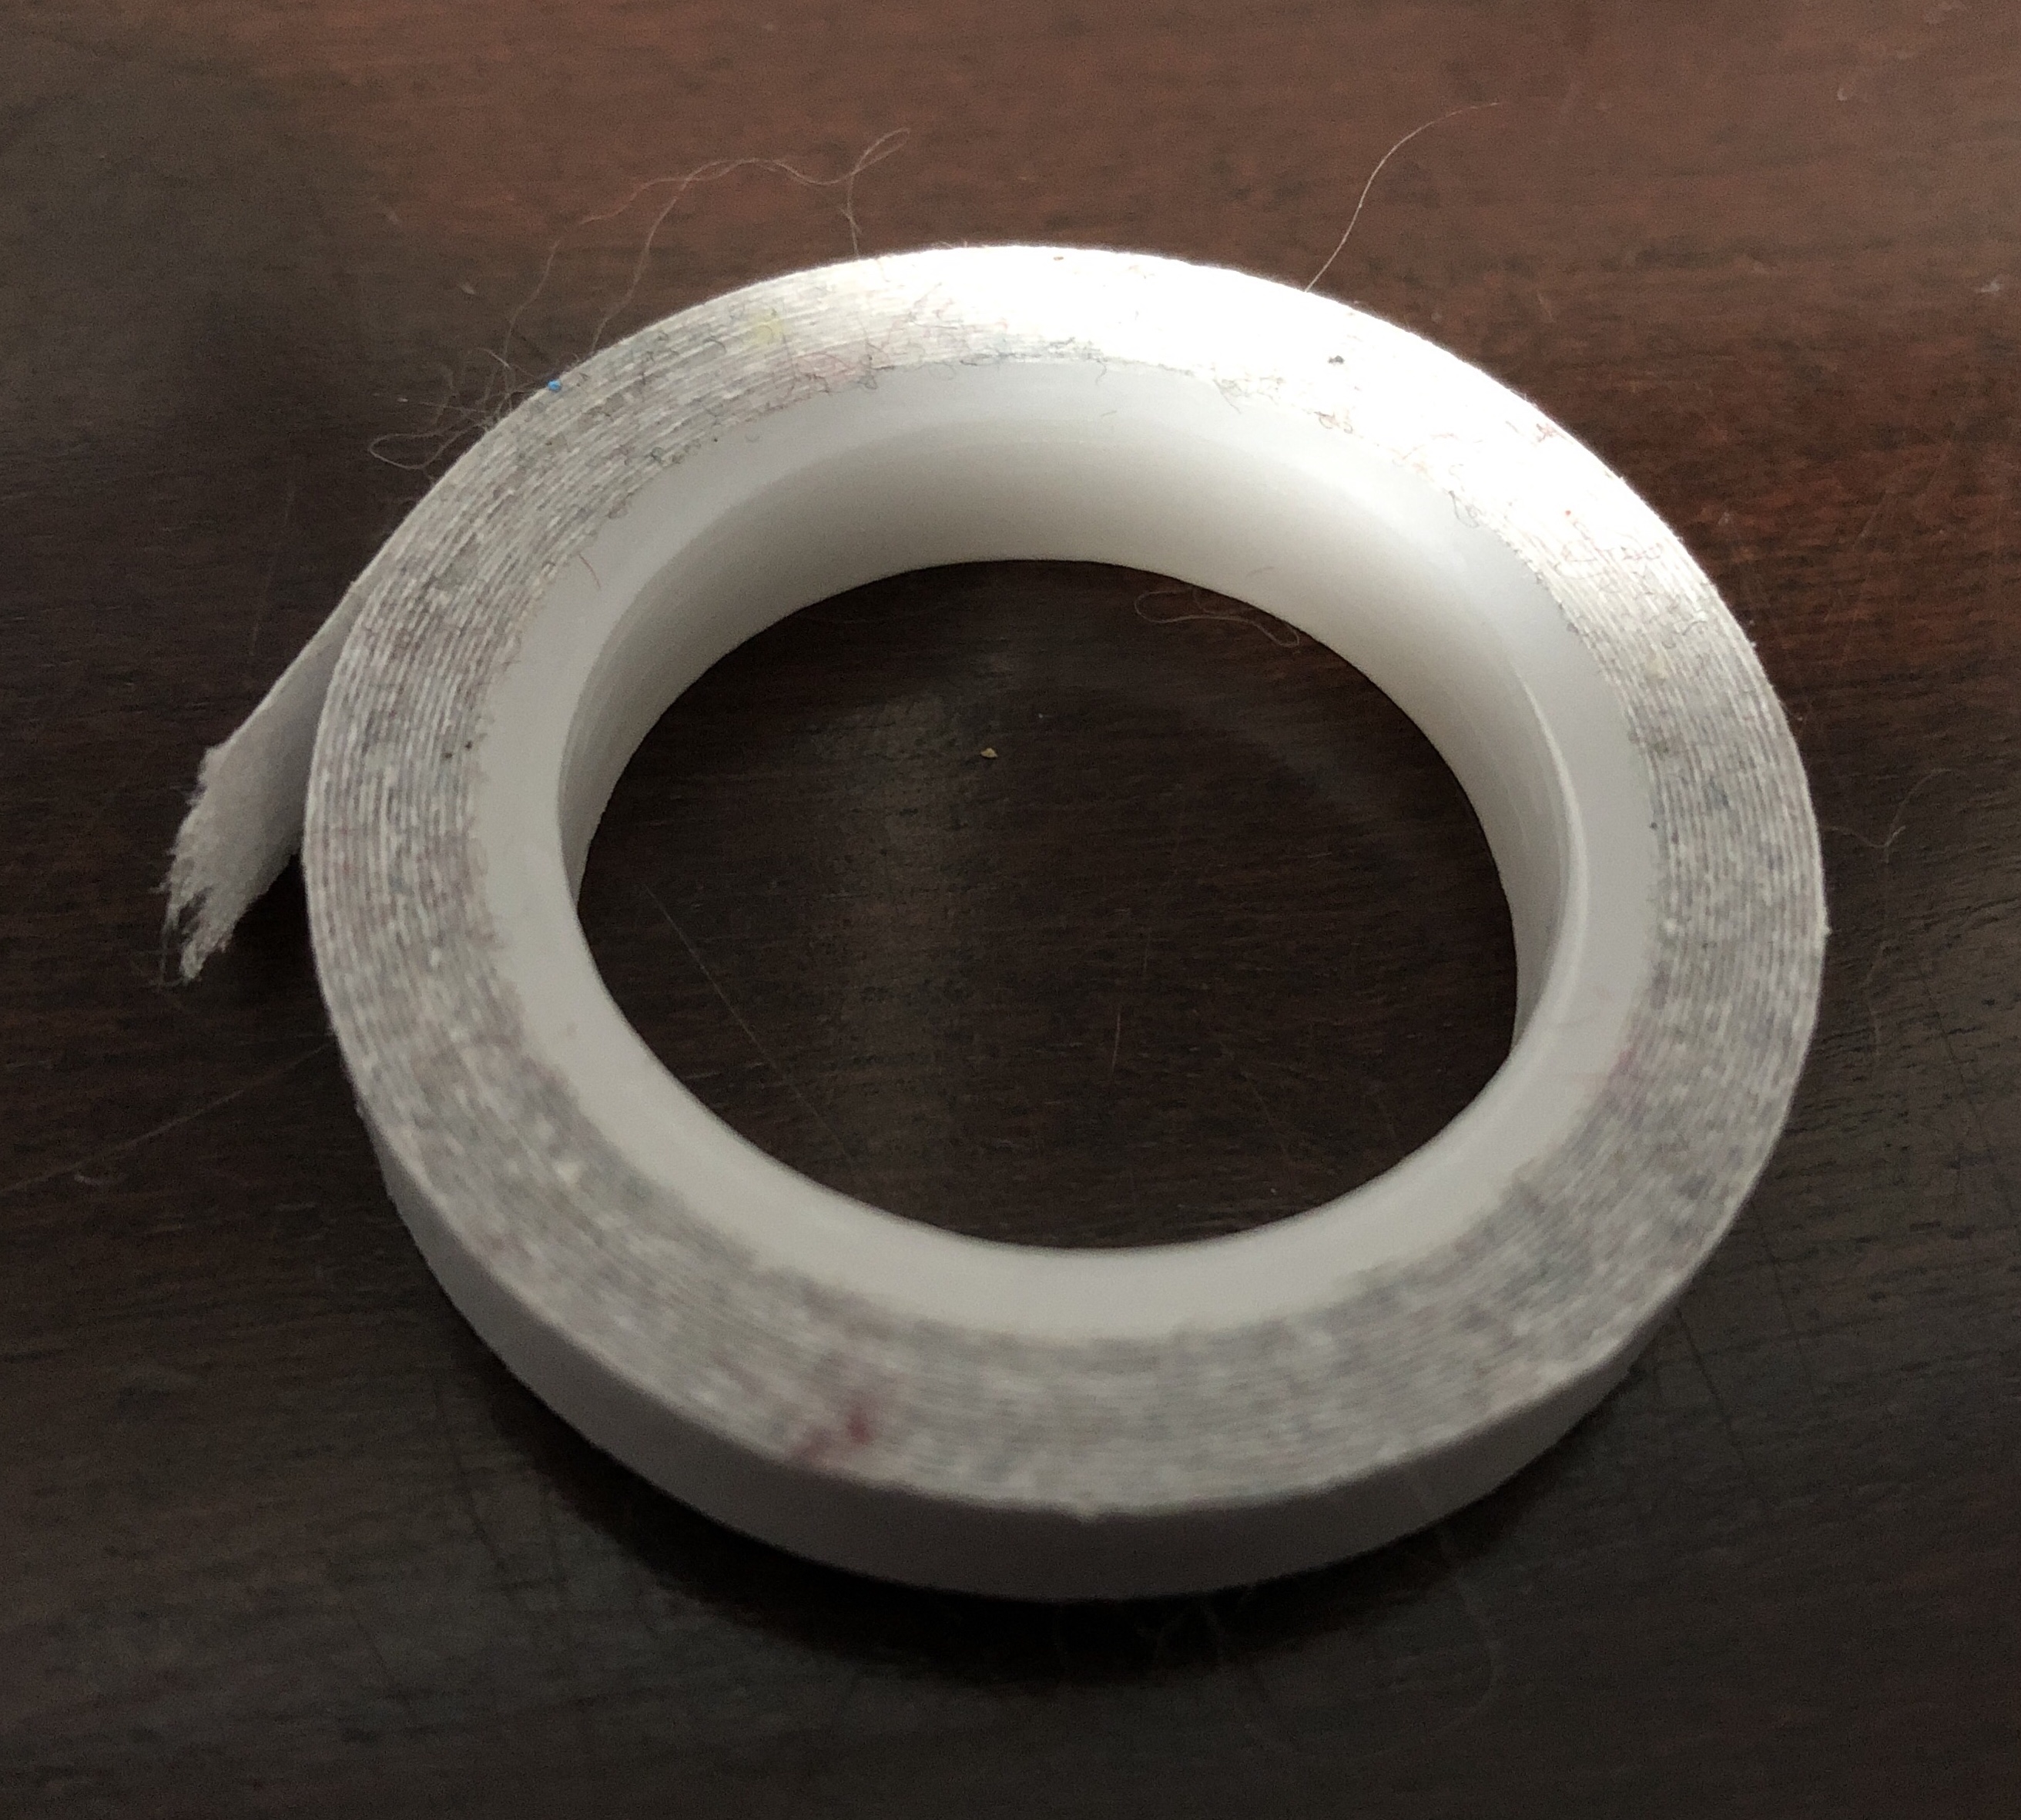
WONDER TAPE is great for hemming. It can help to get your sewing machine and fabric to cooperate sometimes.
THREAD SNIPS for trimming your threads.

WONDER CLIPS to use instead of pins when running your fabric through the serger. Wonder clips are so wonderful because they are faster to put in place than a clip, and you can’t run over them. If you run over a pin with your knife on your serger your knife will break. If you run over a pin with your needle any of your machines there is a good chance the needle will break, but sometimes you will get lucky.

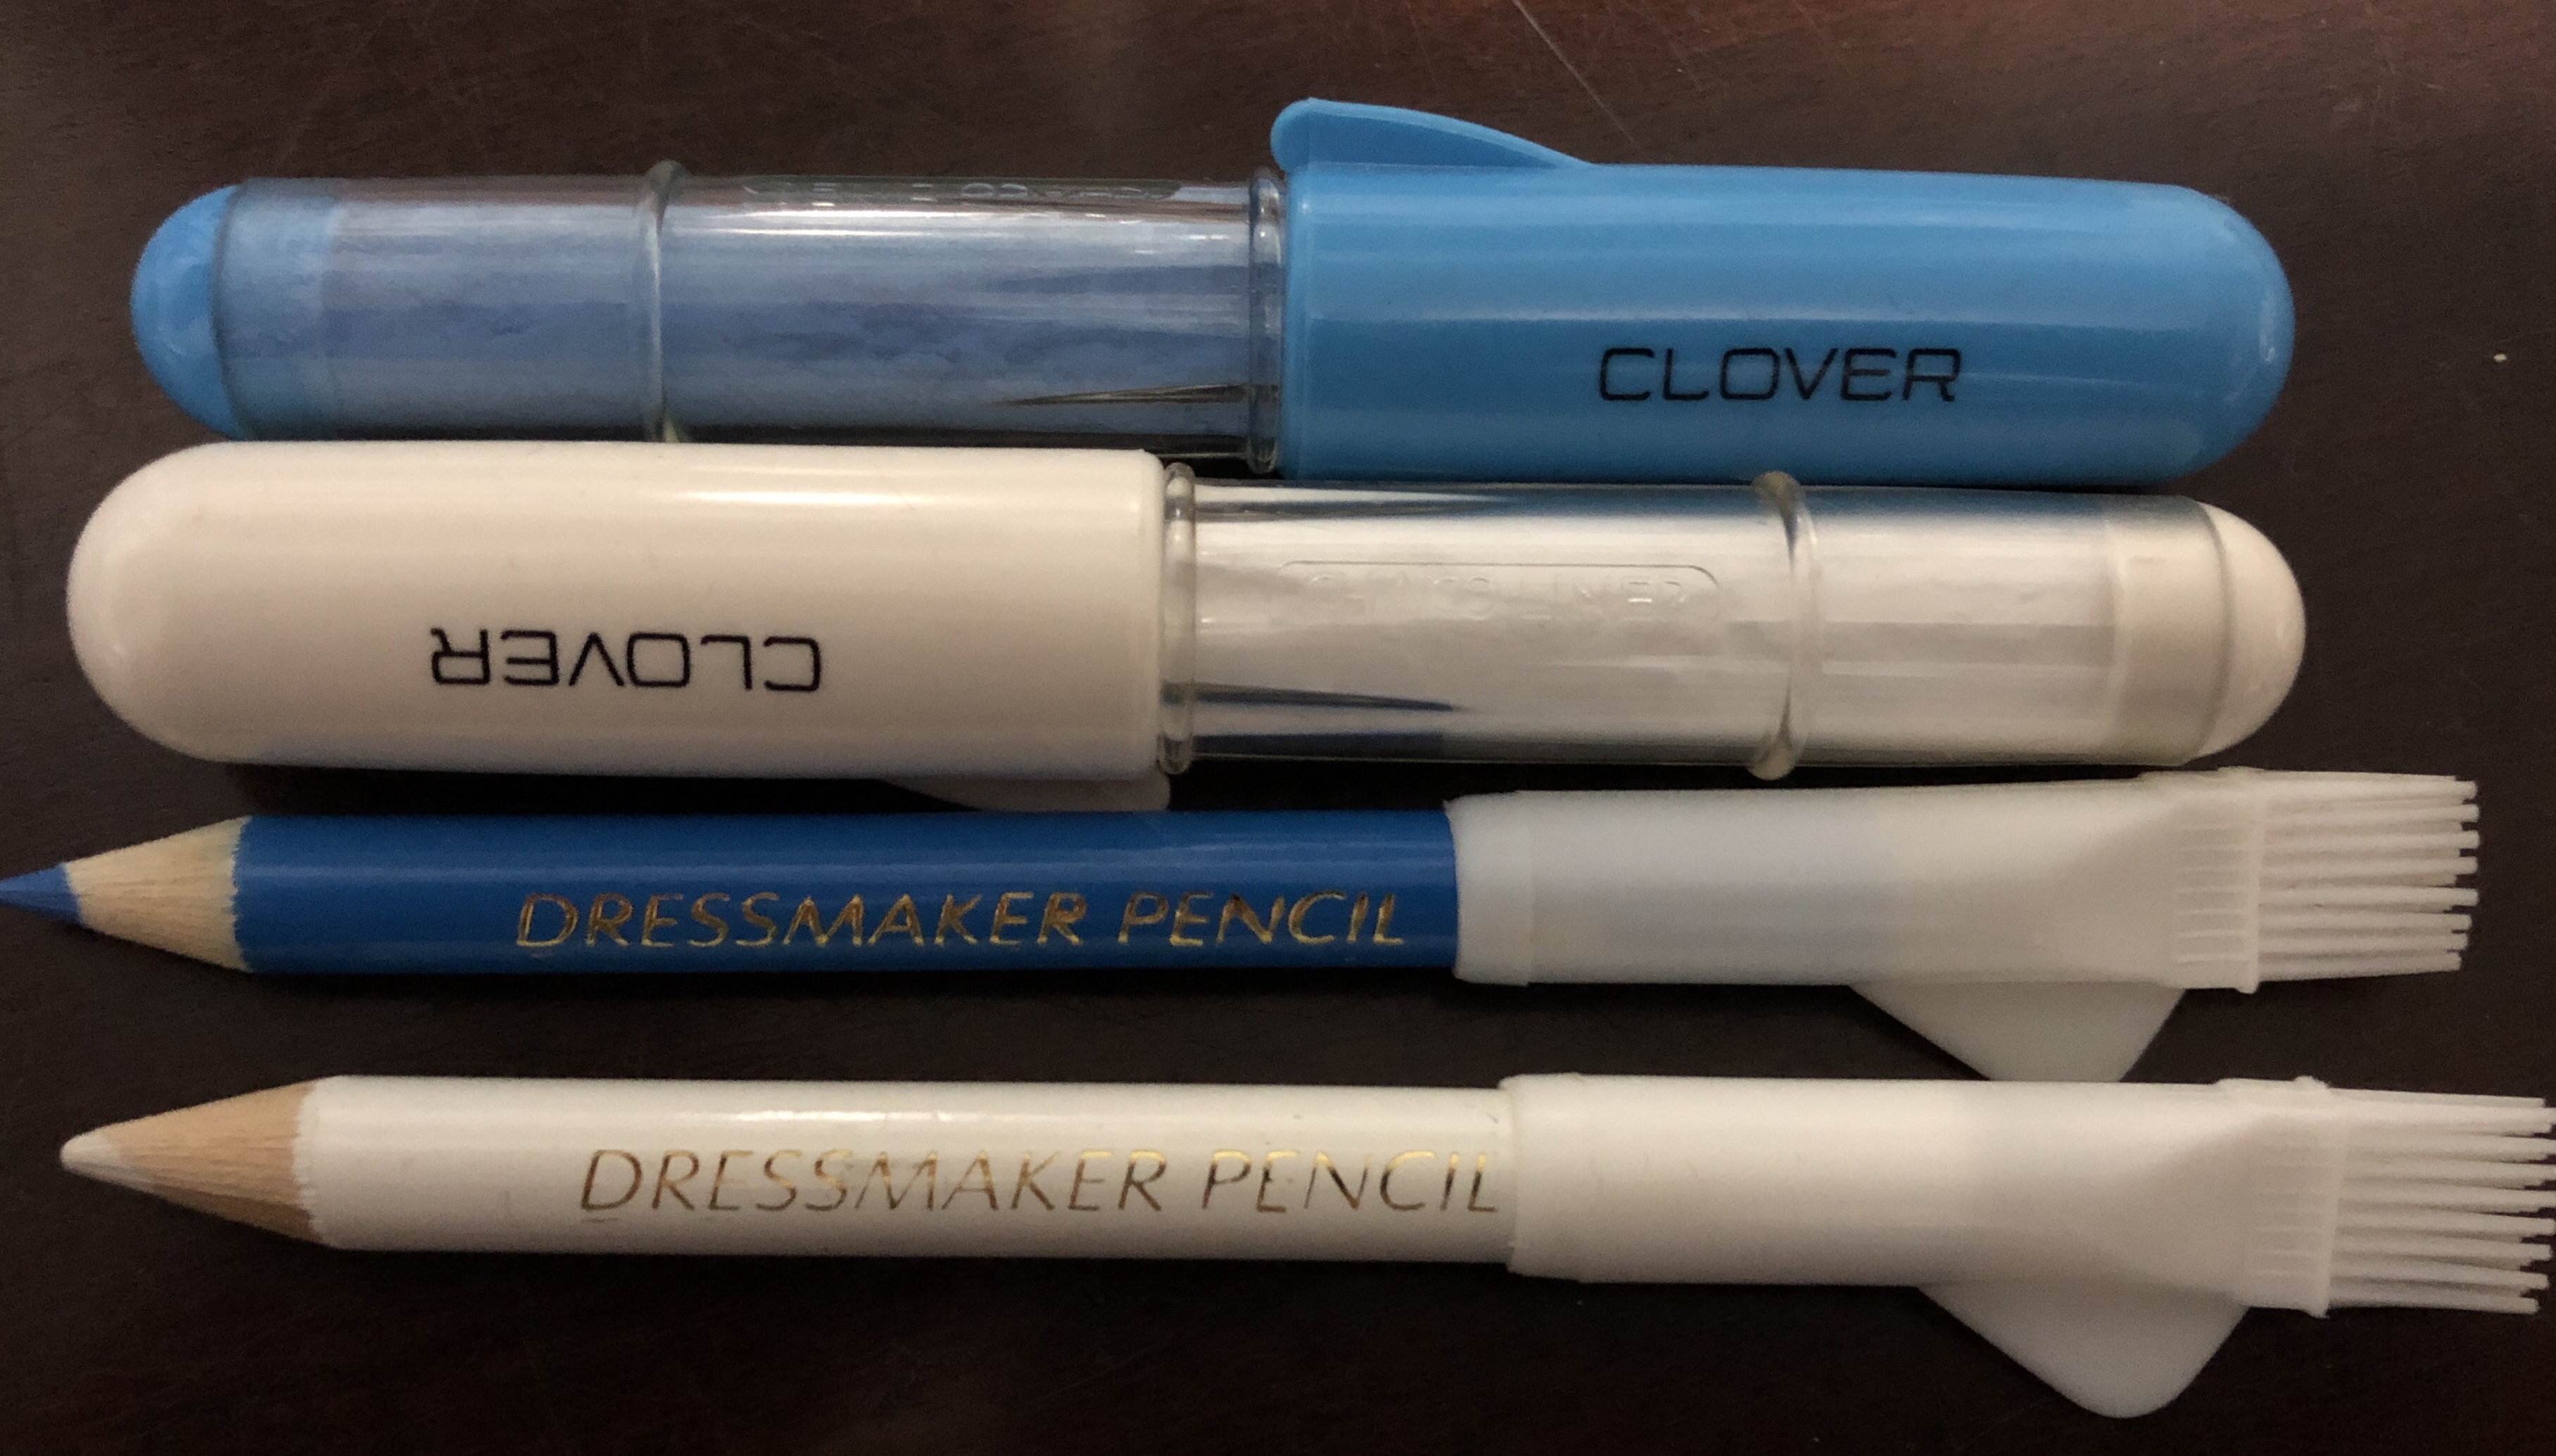
Tailor’s Chalk is also handy to have on hand for marking your fabric. (It washes off).
A SEWING AWL is great for guiding fabric through your machine when you can’t get your fingers close enough (like you are trying to get 2 corners to meet on something like a neckband that you are stretching to fit.

Then there is the all important SEAM RIPPER. A seam ripper is like an eraser. This is how you correct mistakes to start over again.

Your serger or coverstitch if you have one should come with a set of long nosed TWEEZERS these are pretty much essential for threading either machine (don’t need them for a sewing machine though). If you buy a machine second hand or you receive a hand me down machine they may be missing, it is really really hard to thread one of those machines without them so you may want to consider picking one up.

When using a serger you are also going to want a SMALL CROCHET HOOK, and a bottle of FRAY CHECK to secure seams.


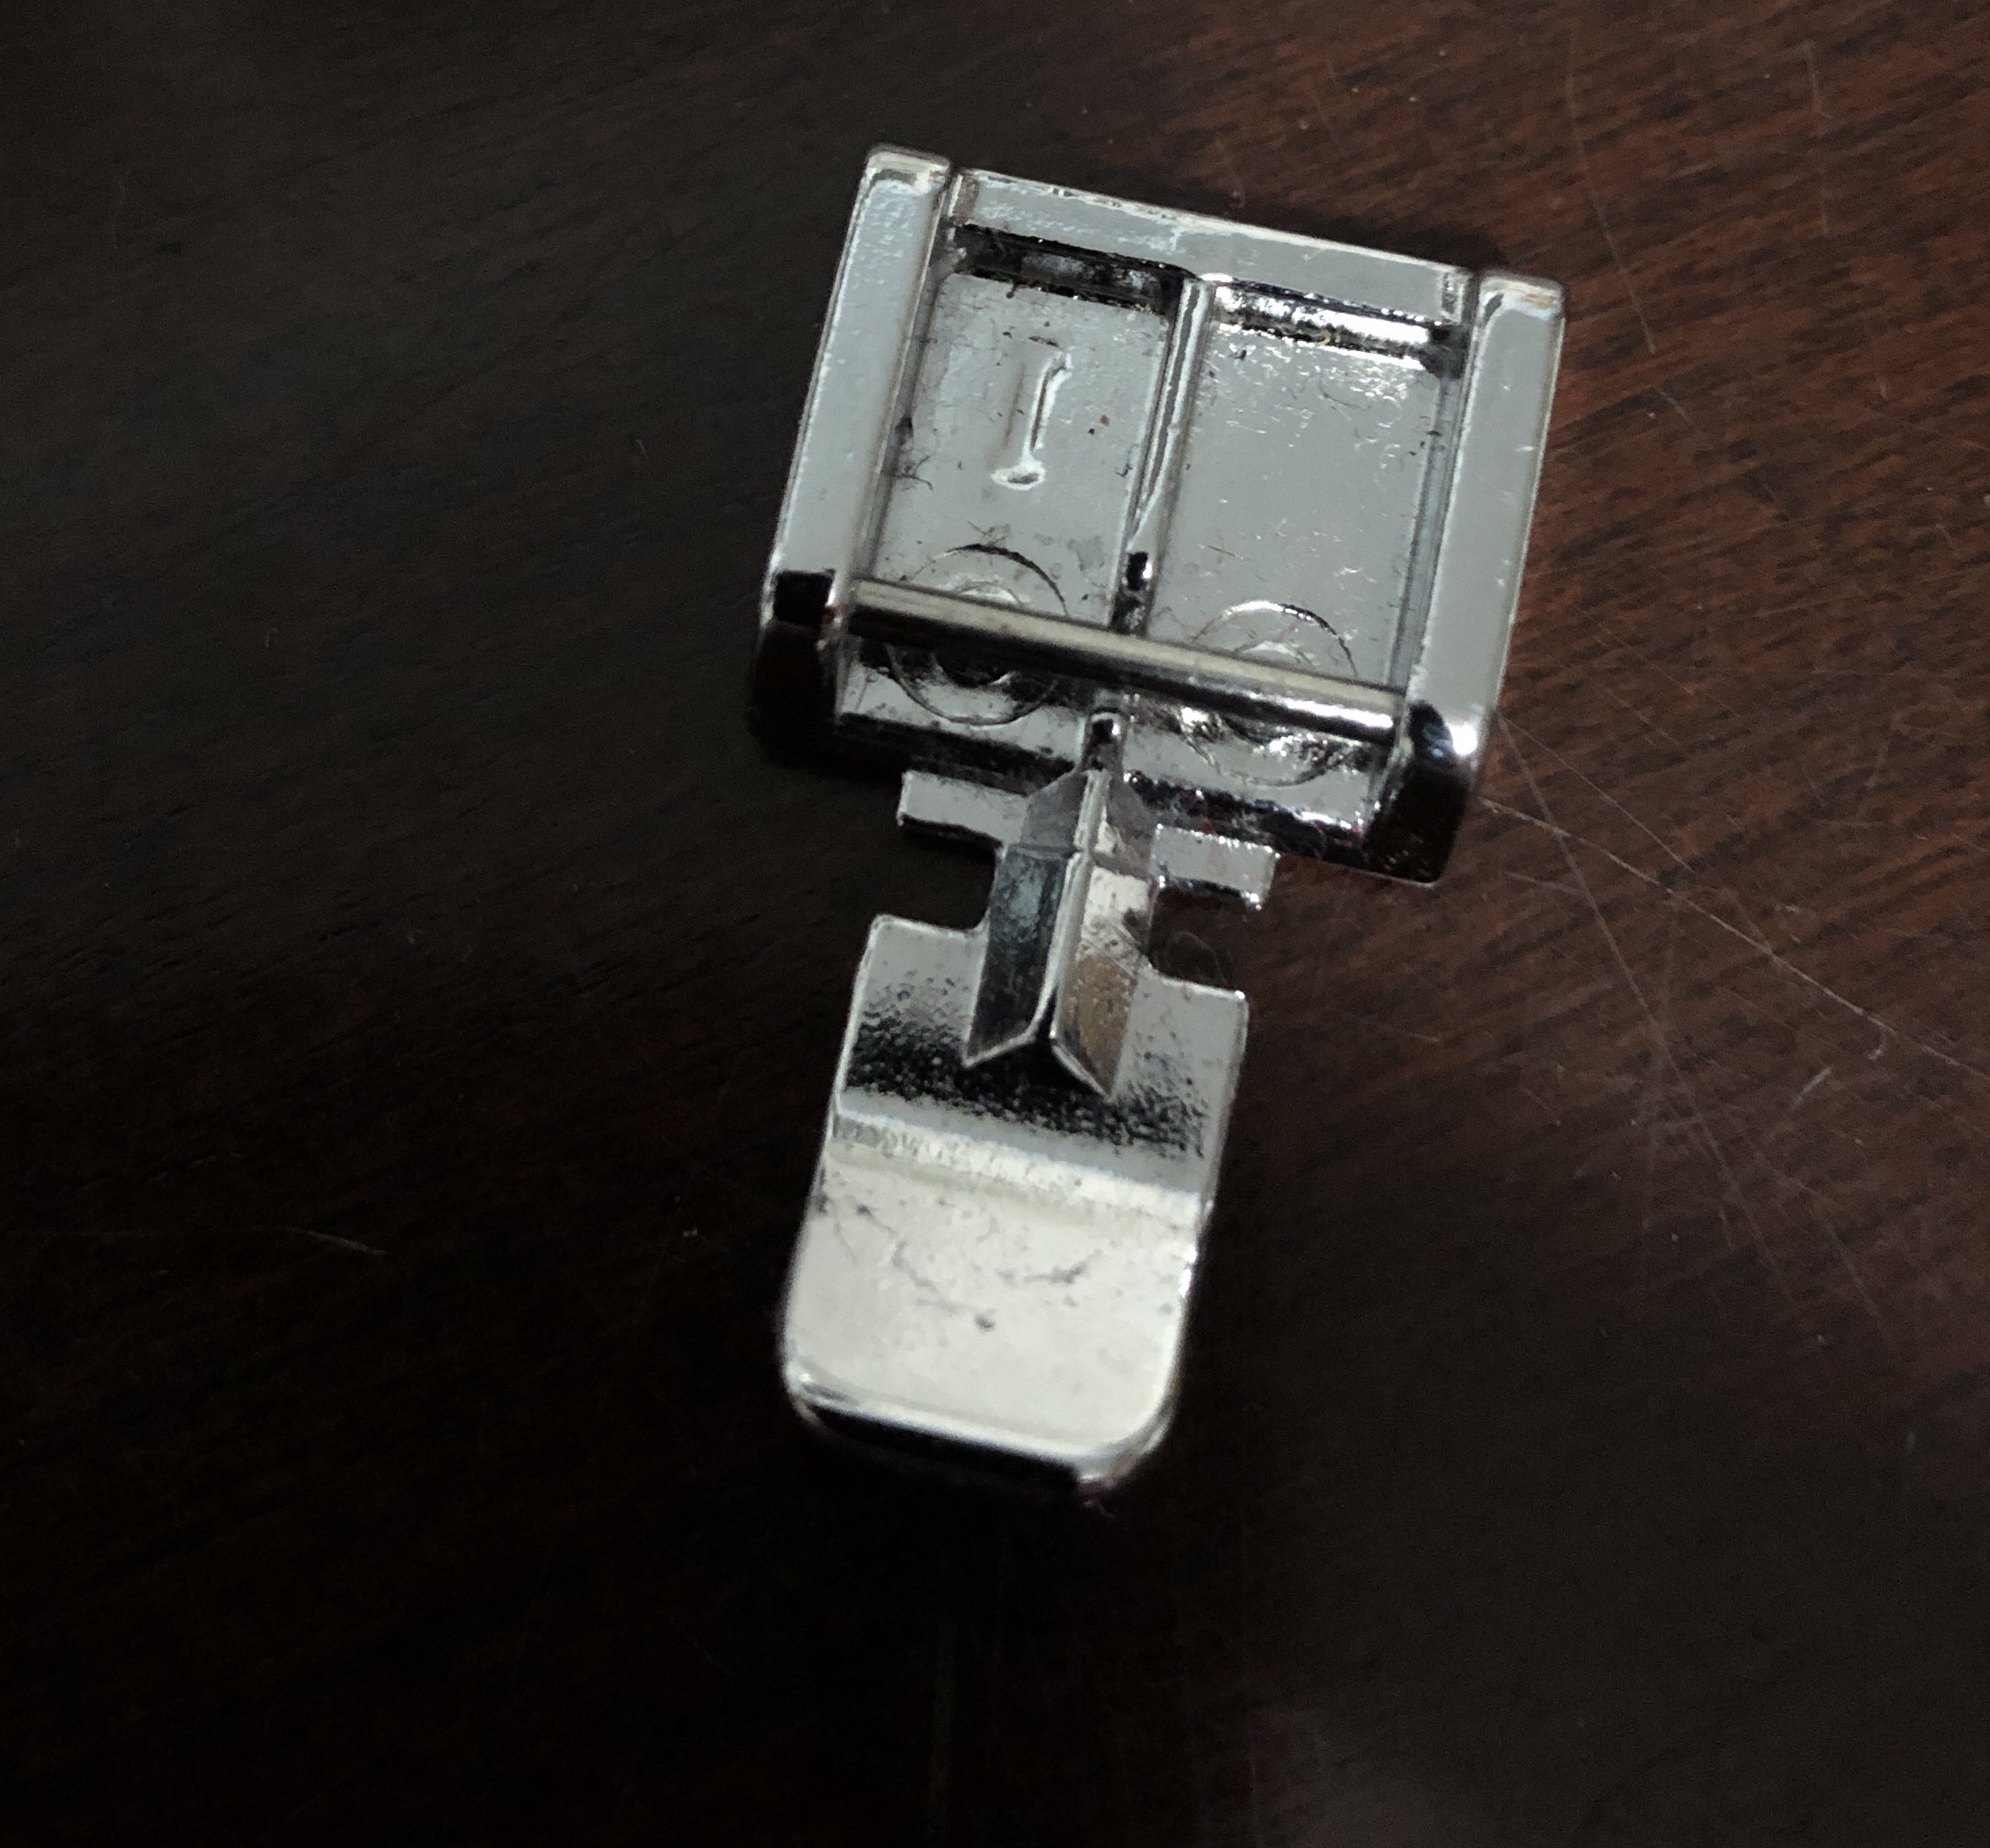
There are a ton of accessory feet available out there for the various machines. First we’ll start with the sewing machine. There are a lot of feet out there for sewing machines. The literally sell 50 packs of different feet so I’m going to stick to the basic ones that I have used (or could see myself using in the near future. I use a “J” foot on my machine the vast majority of the time, but a WALKING FOOT is really handy when you have lots of layers, thick fabric or really slippery fabric. Next we have the ZIPPER FOOT or INVISIBLE ZIPPER FOOT. These feet are for being able to stitch closer to your zipper while installing your zipper. The last one I’m going to talk about today is one I haven’t used yet, the BUTTON HOLE FOOT which as I’m sure you can guess is for stitching around button holes.

For the serger I haven’t felt the need for a different foot, but I have bought one foot for my coverstitch. This is a clear foot for when you are hemming in the round so you can see where you started when you get to the end and line up your stitches.
Those are your basic tools. Like every hobby there are tons of accessories out there, some are more helpful than others, some more expensive than others. In Canada you can get a lot of these supplies at places like Fabricland (although the don’t sell machines) and local quilt shops. You can also buy tools online at places like amazon. I will talk more about where to find Canadian fabric in another post.
