
Ok, here we go! You have an idea in your mind what you want to make, now it’s time to get everything together to make that vision become a reality!
First you are going to need a PATTERN. There are two ways you can do this. You can go to your local store that sells patterns. In my case that would be the local Fabricland. There you can pick up a physical copy of the pattern printed on a type of tissue paper, which you can then either, cut out the size you want, or trace the size you want onto different paper if you want to be able to use another size later. This is handy with kids clothes because when they start outgrowing sizes and you want to make them a bigger one without buying the pattern again. You can also find some physical patterns for sale online.
The other option (which is my personal favourite) is to order your pattern online from a retailer that sells PDF patterns. What you would receive in this case is a digital download of the pattern that you can then turn around and print. Most retailers will offer multiple sized printing options like US letter or A4. You can either print your patterns at home and then assemble them or you can have them printed commercially on bigger paper. Most of the patterns I have bought have “No Trim Pages” this feature is beyond helpful! What this means is that when you are assembling your pattern (taping or gluing them together when you print in standard letter size paper) you can overlap the pages and you don’t have to cut any of the pages. I bought one pattern without the no trim pages feature when I was making Halloween costumes, and boy did I regret it! It was so much more of a hassle to put the pattern together.
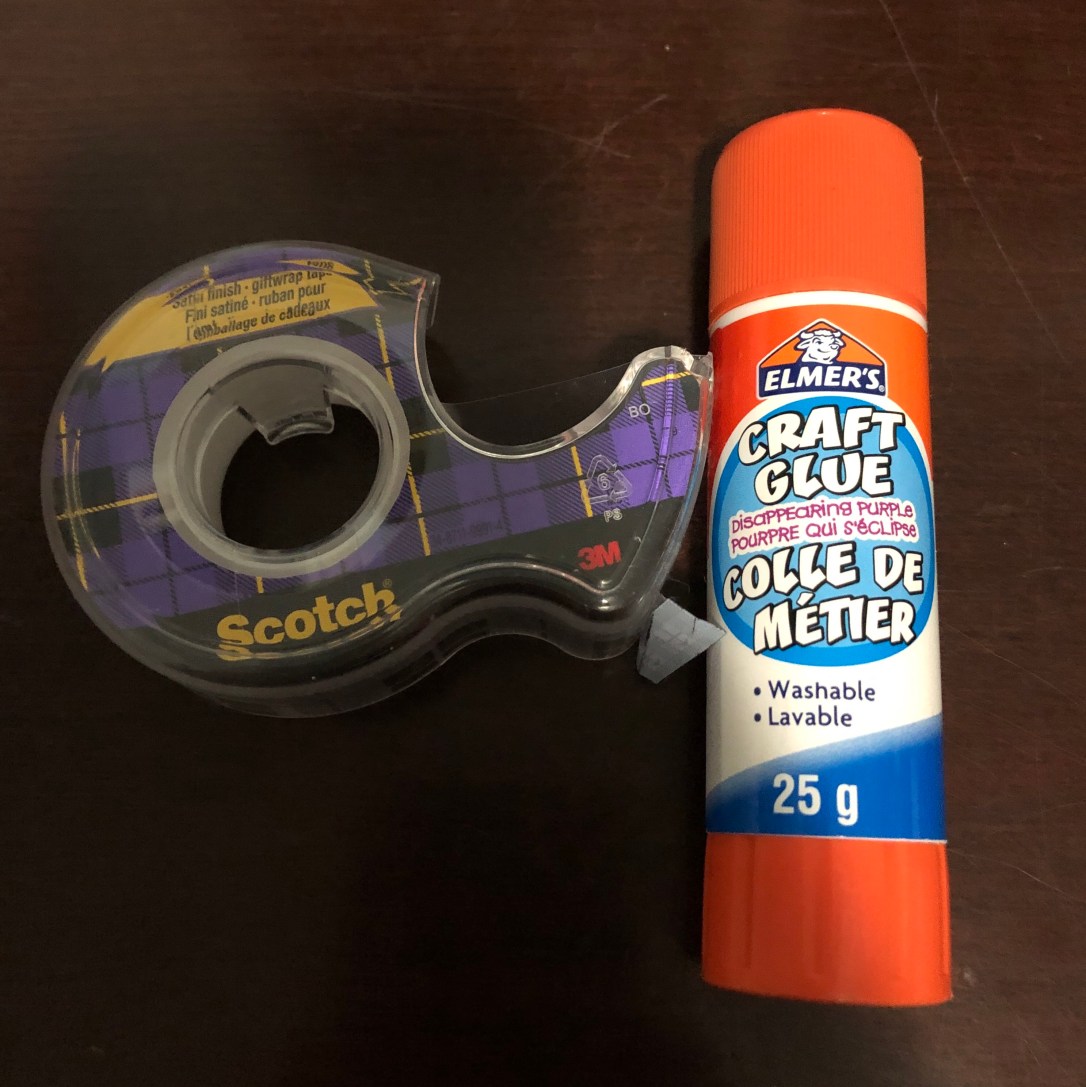
If you are printing your pattern at home you will need PRINTER PAPER, TAPE, or a GLUE STICK to assemble your pattern. Personally I found glue easier initially but I don’t know it it was the type of glue stick I was using but my patterns started falling apart, especially as I was trying to fold them up after, so now I prefer tape.
Next you will need the appropriate type of FABRIC. Now this one gets a bit trickier. I won’t got into the specifics of each type as there are a lot of different types of fabric! For the most part I work with knit fabrics as opposed to woven. For information on where to find great Canadian knit fabric, check out my post here.
Knit fabrics are stretchy and a bit slippery to work with but rather forgiving if you make small errors. Woven fabrics don’t stretch and are used for clothing as well but not as often for everyday clothes (although they can), they don’t have any stretch to them so they aren’t as forgiving if your seam allowance is off or you made a mistake measuring, but they don’t tend to slip and slide as much when you are working with them. You can’t interchange knits and woven fabrics in most patterns without making some serious sizing adjustments, but even then the fabric won’t behave the same and you won’t get the same fit.
For the sake of simplicity unless I state otherwise assume I’m talking about knit fabrics. Some examples of knit fabric are Cotton Lycra (Lycra and Spandex are the same thing so you will sometimes see it listed as Cotton Spandex), Double Brushed Polyester (DBP for short) and Rayon Spandex. There are a lot more but these are some of the ones I’ve played with. Some examples of woven fabric are Flannel, quilter’s cotton and satin.
I am certainly not an expert at knowing all the differences between fabric types yet, but I will go into a few of the most important things to look for when picking your fabric. Take a look at your pattern. It will give you fabric suggestions. It may say something like “any knit fabric with at least 20% stretch”. Stretch is extremely important to fit. If your fabric calls for 50% 4 way stretch, and you buy a fabric that has 20% 2 way stretch then your garment won’t fit. One of the other important properties of fabric is Drape. This basically means how flowy is the fabric? Will it hug every curve, or will it hang straight up and down?
It may seem odd but I would suggest getting decent to good quality fabric even when you are first starting out. I would try to avoid buying cheap fabric to practise on because it is harder to work with, especially if you make a mistake and need to rip it all out. I have more than once torn a hole in cheap fabric with my seam ripper trying to undo a mistake and ended up making a bigger problem. Not fun!
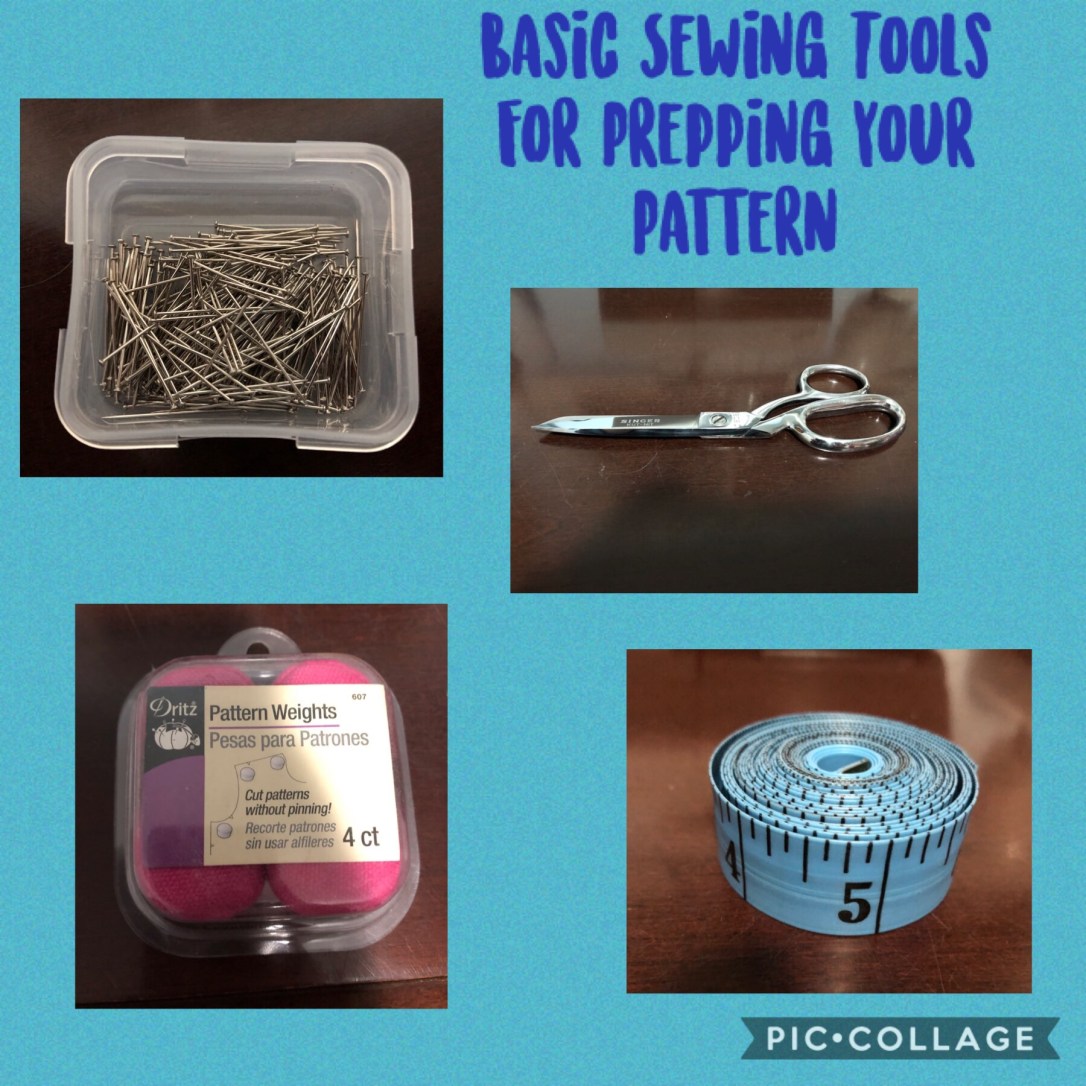
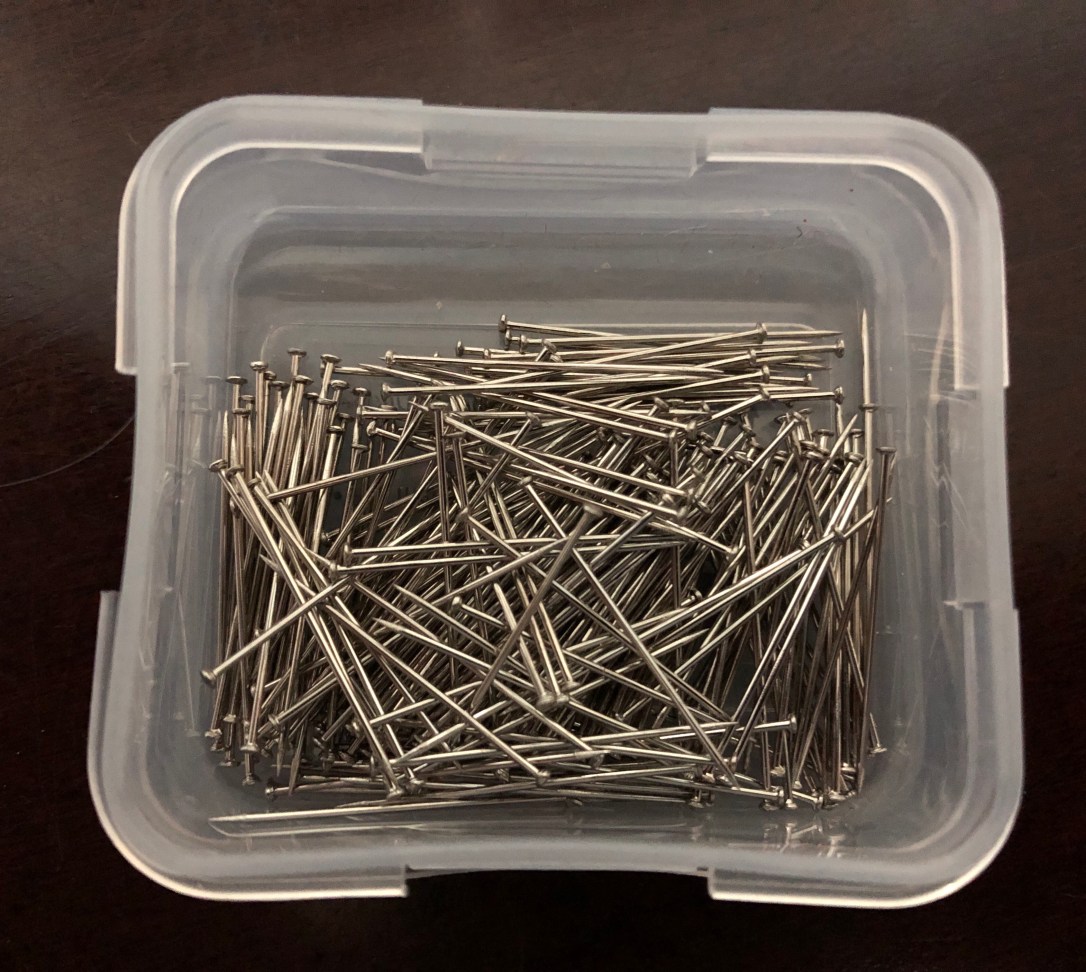
So next comes BALLPOINT PINS or PATTERN WEIGHTS. We need to attach or pattern to the fabric so we can cut it out. Ballpoint pins work a lot better than regular straight pins on knit fabric. The alternative to pins is pattern weights. You can buy pattern weights or you can make your own. A pattern weight can be a rock or a can of soup. The idea is that you lay your fabric out, lay your pattern on top and put a few strategically placed heavy things on it so your pattern doesn’t move while you are cutting your fabric and you are good to go.

Then you need to start cutting. For this you have a couple options, you can use either FABRIC SCISSORS or a ROTARY CUTTER. Fabric scissors need to be sharp to cut fabric properly so using them for anything other than fabric is a huge no no. You will notice a lot of posts in Sewing groups about people getting mad when their significant other or children get ahold of their fabric scissors and use them on paper. I also keep regular scissors with my sewing stuff for cutting the pattern paper before placing it on my fabric.

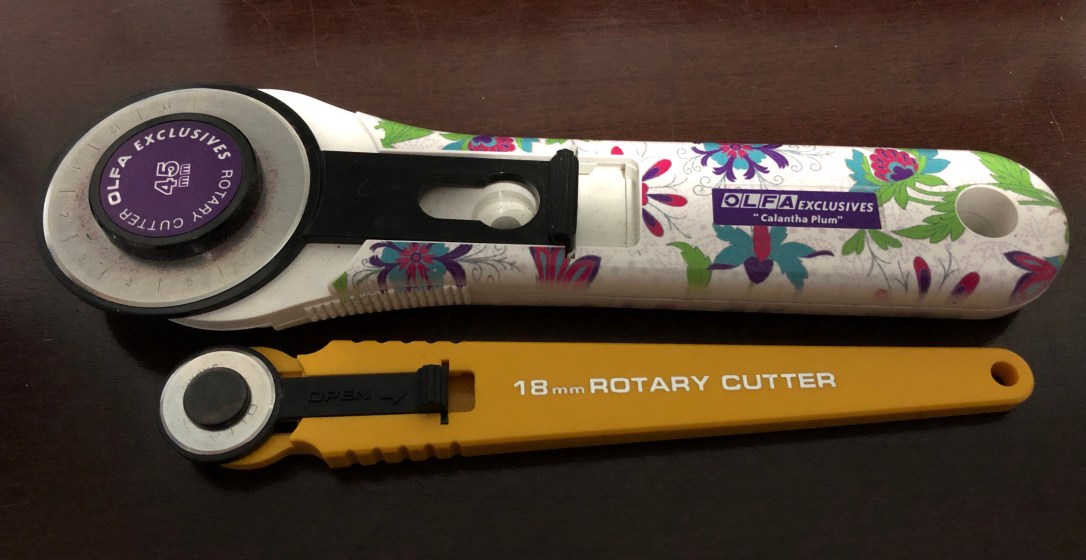
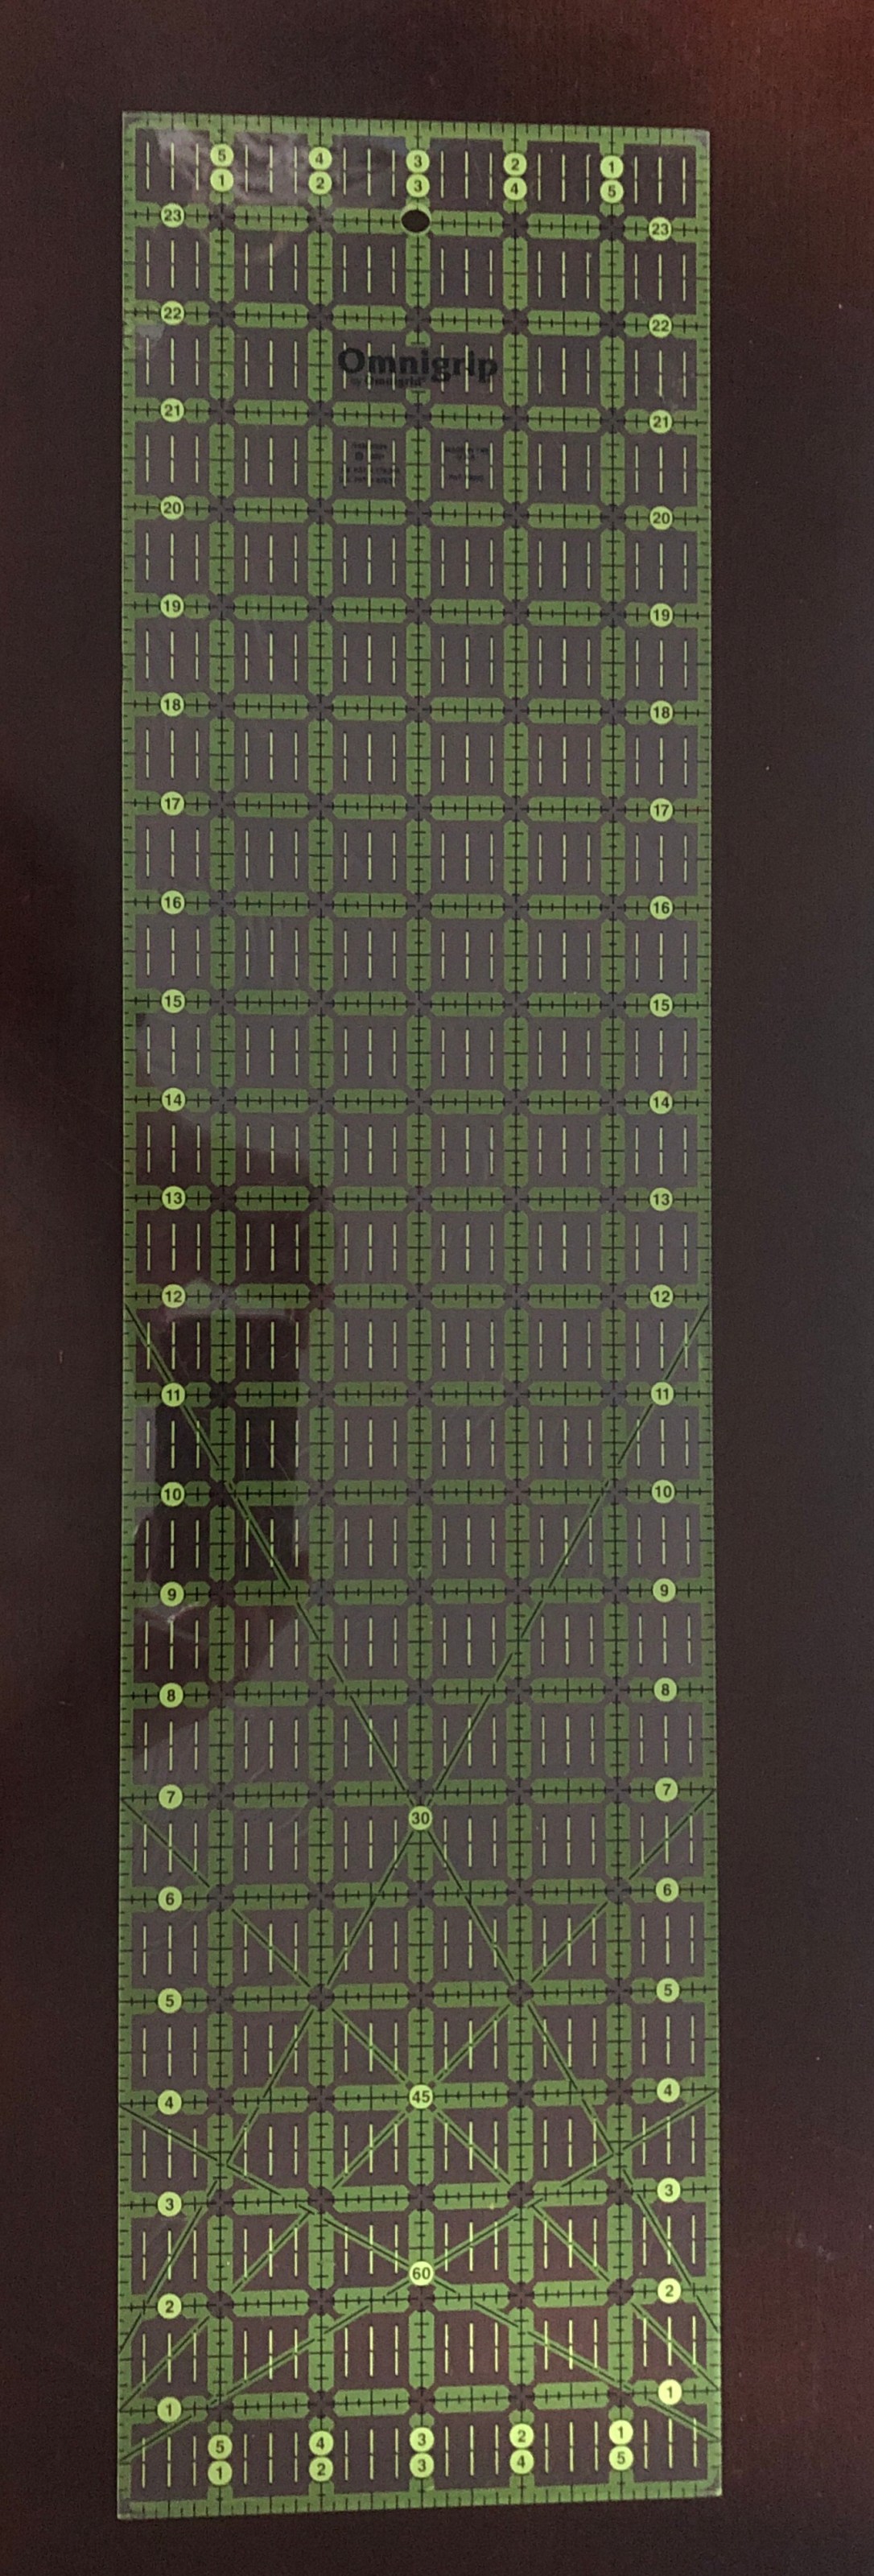
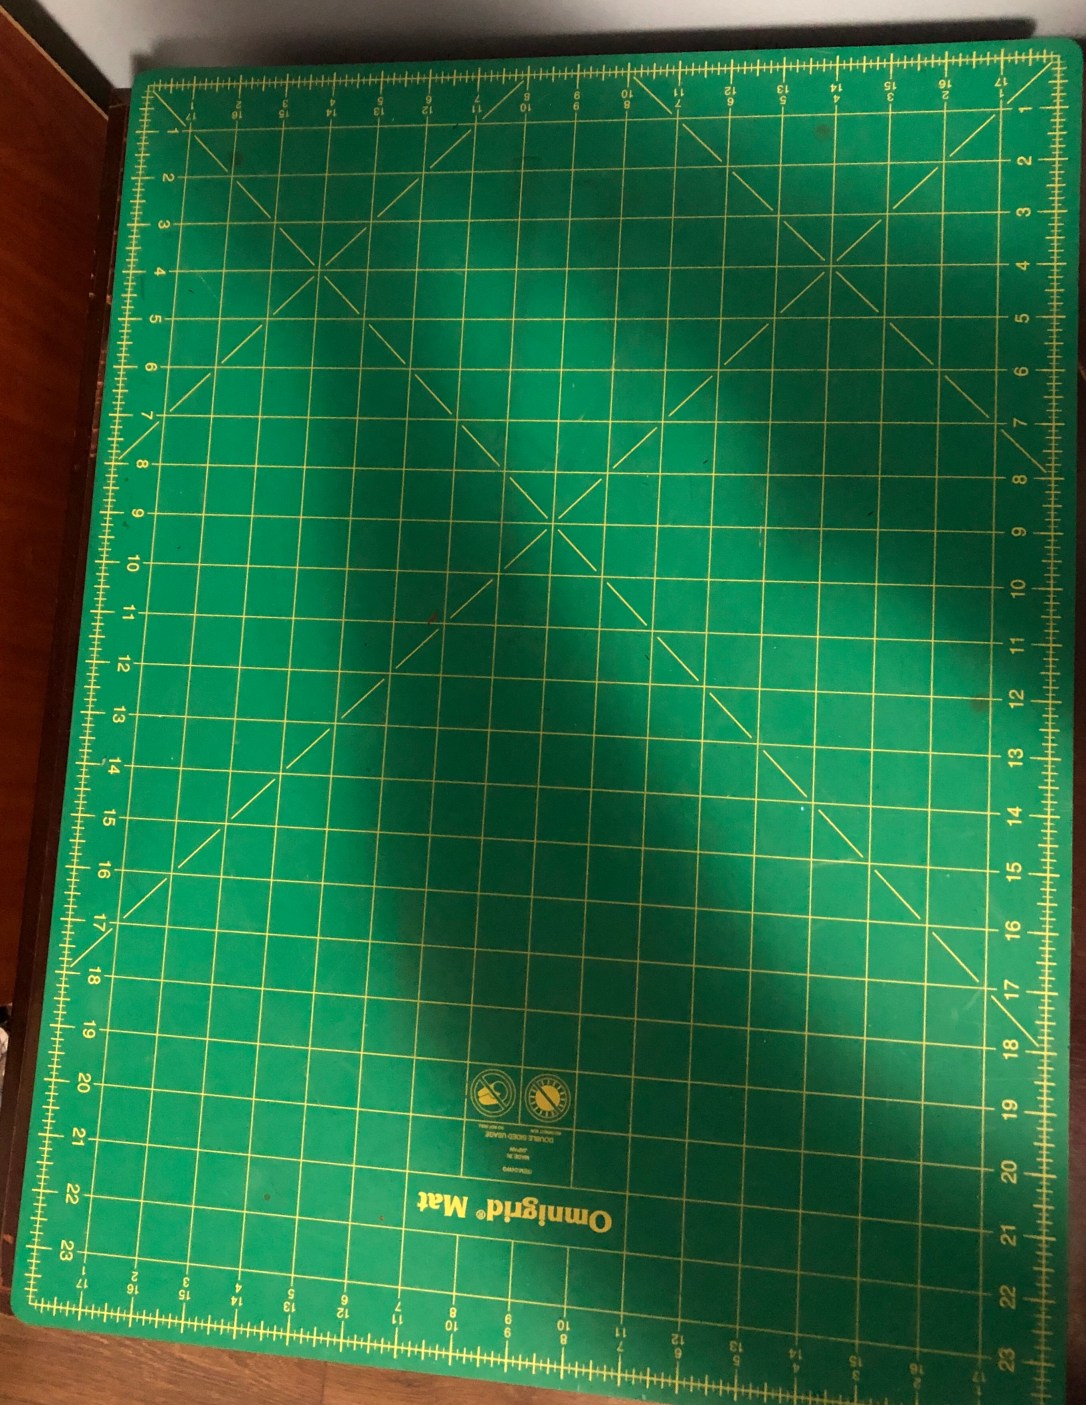
There are different sizes of rotary cutters. The 45 mm size is the most popular and is often used in quilting for cutting straight lines with the assistance of a RULER. You can also use rotary cutters for cutting any straight line on knit fabric and for cutting bands (which are rectangular pieces used for things like neckbands or waist bands). The 18mm size can be used for cutting curves free handed without the ruler. Rulers come in a multitude of sizes and shapes. A basic rectangular ruler will do and a CUTTING MAT. You will want to use a cutting mat any time you use a rotary cutter or you will gauge up whatever surfaces you are cutting on and dull your blade.
By this point you have everything you need to cut out your pattern. In Part Two we will discuss what you need to put your garment together.
