
This post contains affiliate links. I may earn a small commission through the use of these links at no additional cost to you, but I would never recommend a product I didn’t love and would recommend anyway.
I was so excited to get picked to test the Whistler Jacket for Greenstyle Creations. It was the perfect excuse to make myself a fall/ spring jacket. I just recently started working at Fabricland and had been eyeing a fabric called Buttersoft Leatherlook. It has a soft “wrong side” and the “right side” looks like leather. I had been dreaming of making a jacket for myself with it since I first saw it while I was working.
The Whistler Jacket is drafted for stable knits or a stretch woven, it has a few different options. You can have either a hood or a collar, a drawstring or a knit waistband and a solid back or a colour blocked back. You also have the option of making the jacket according to your measurements or sizing down for a slimmer fit. For both of my test jackets I used the collar, knit waistband and solid back.
Whenever you do a pattern test you always make at least two versions of the pattern. The first to check for fit and give feedback on any changes that need to be made, and then another that reflects any changes that were made using your final fabric choice. For this pattern I decided to make my fit version out of some Ponti De Roma from Fabricland that I had in my stash at home. I only had 1 1/2 metres of it, but I managed to jigsaw my pieces enough to fit everything on. Had I been making the hooded version it wouldn’t have worked, but I had enough fabric to do the collar and the knit waistband so I managed to make it fit.
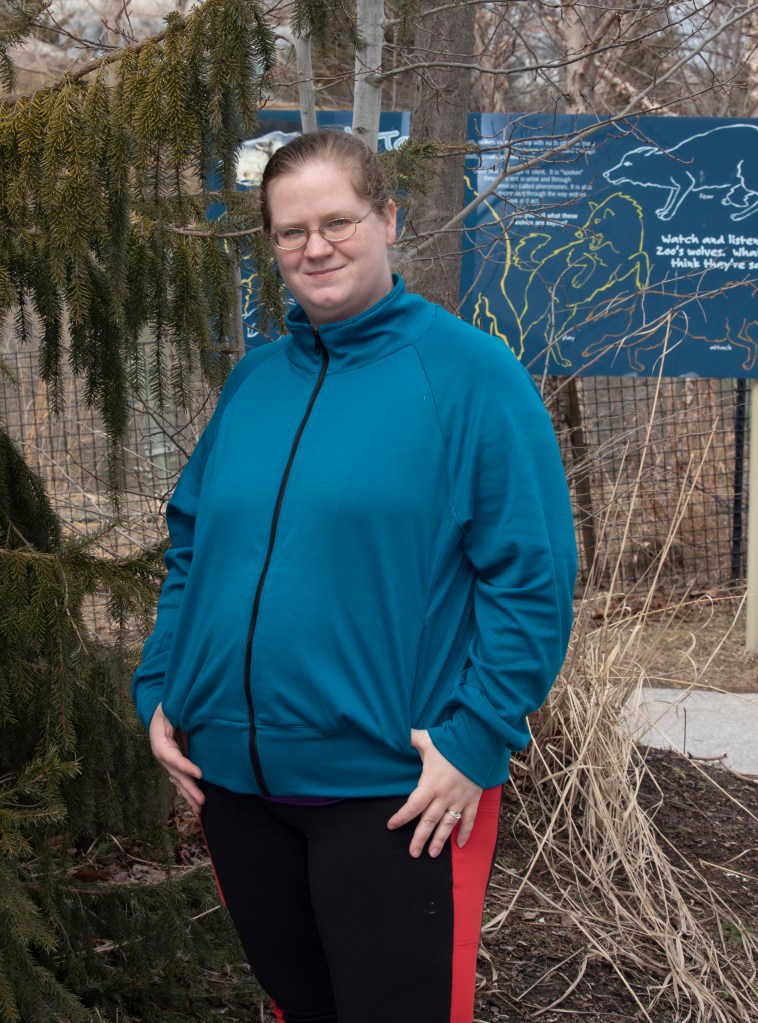
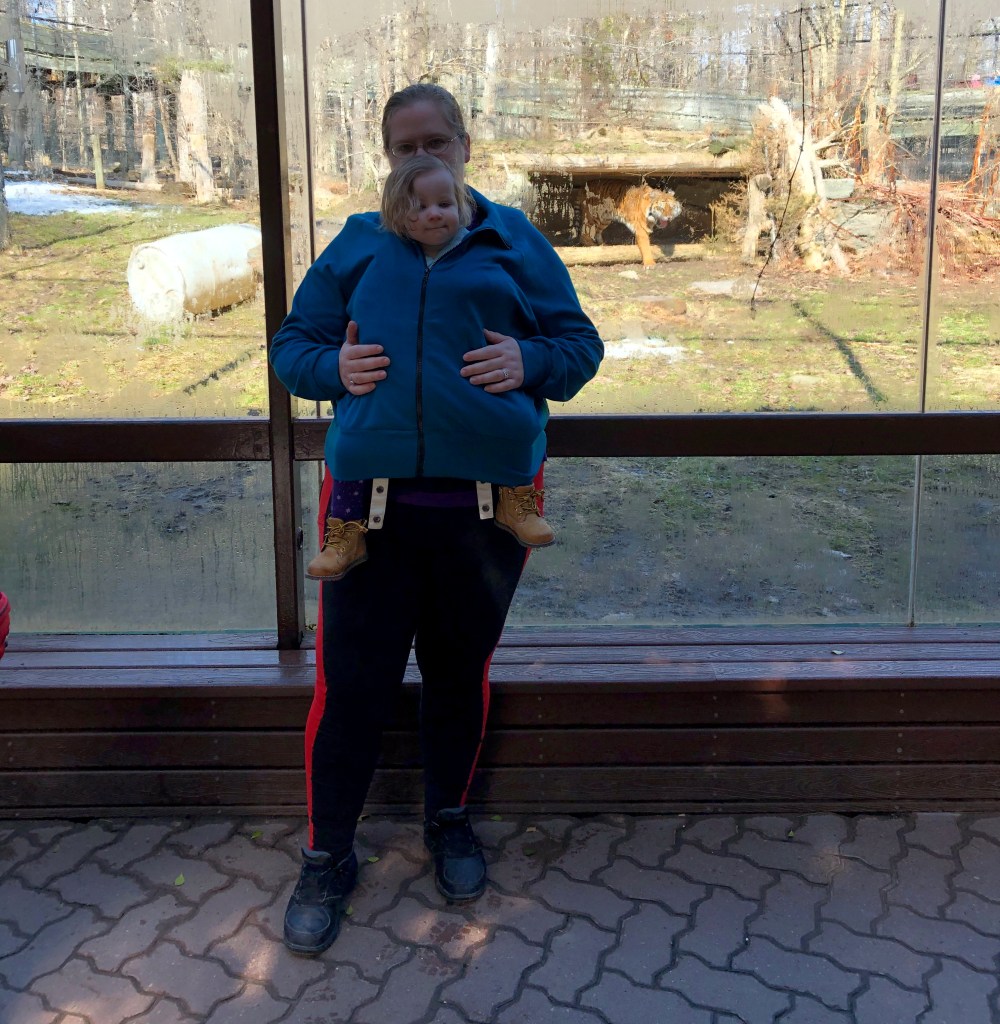
My first jacket I made according to my measurements to check the fit. I found it to be a bit baggy for my preferences but it did have the unexpected bonus of being able to zip it up over top of my daughter while I was wearing her in the carrier at the zoo. Ponti De Roma has excellent stretch and therefore I was able to comfortably wear my daughter under it, it probably wouldn’t have worked with a stretch woven though.
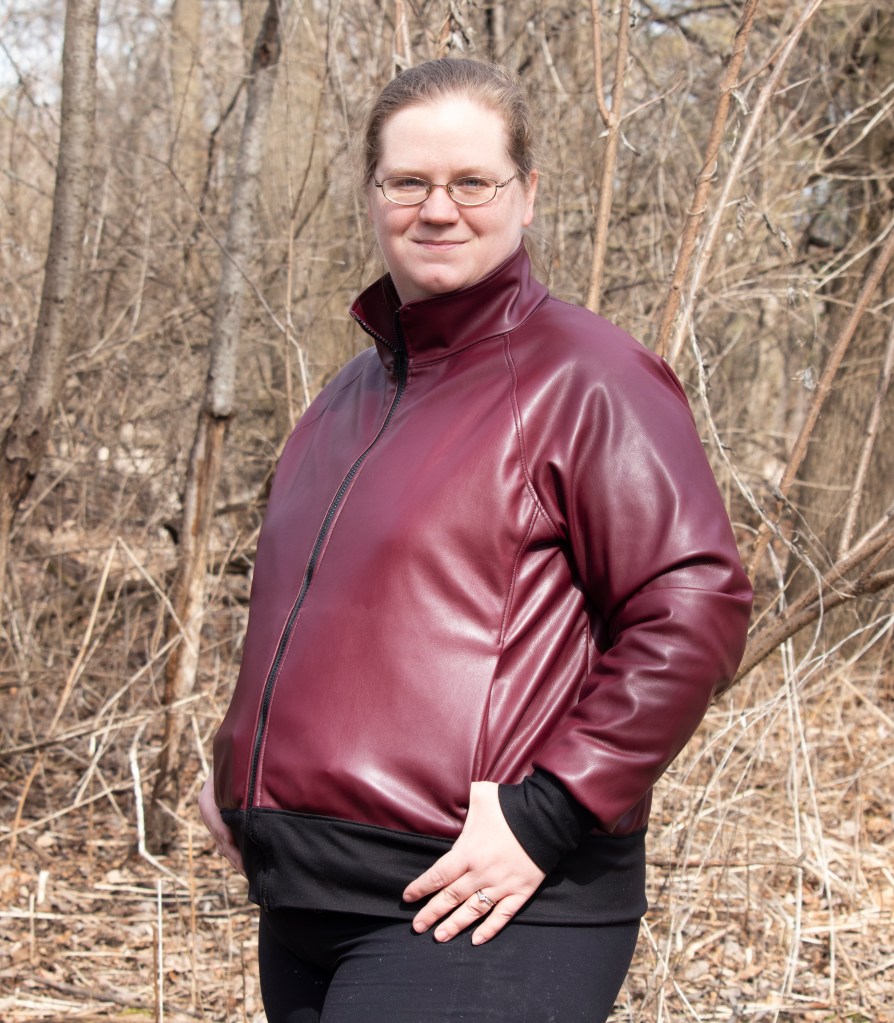
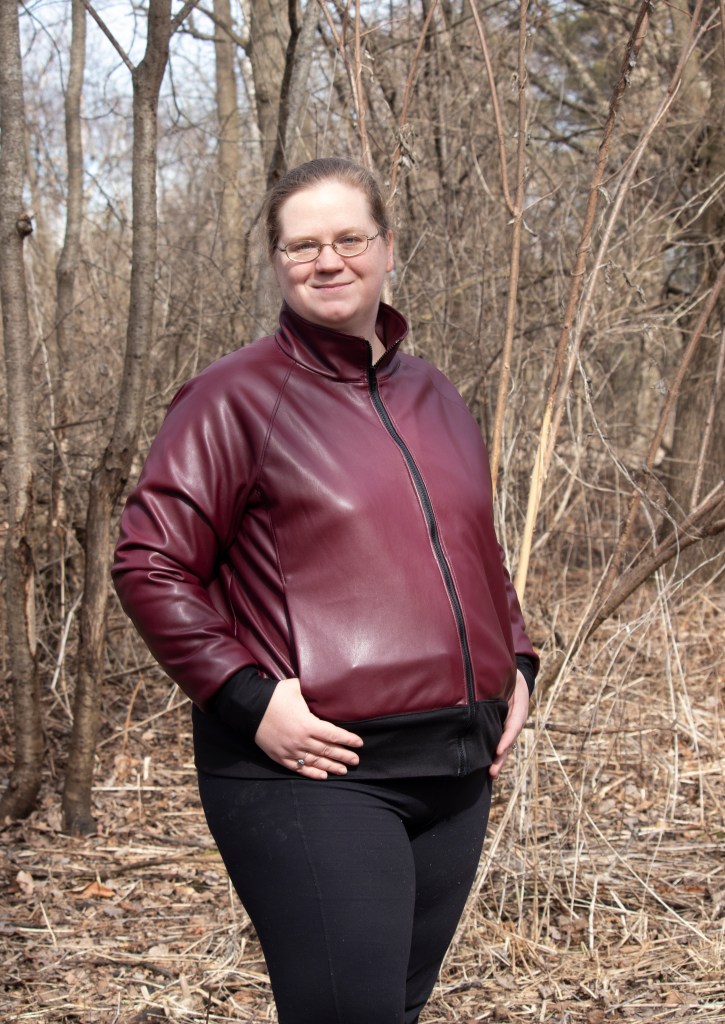
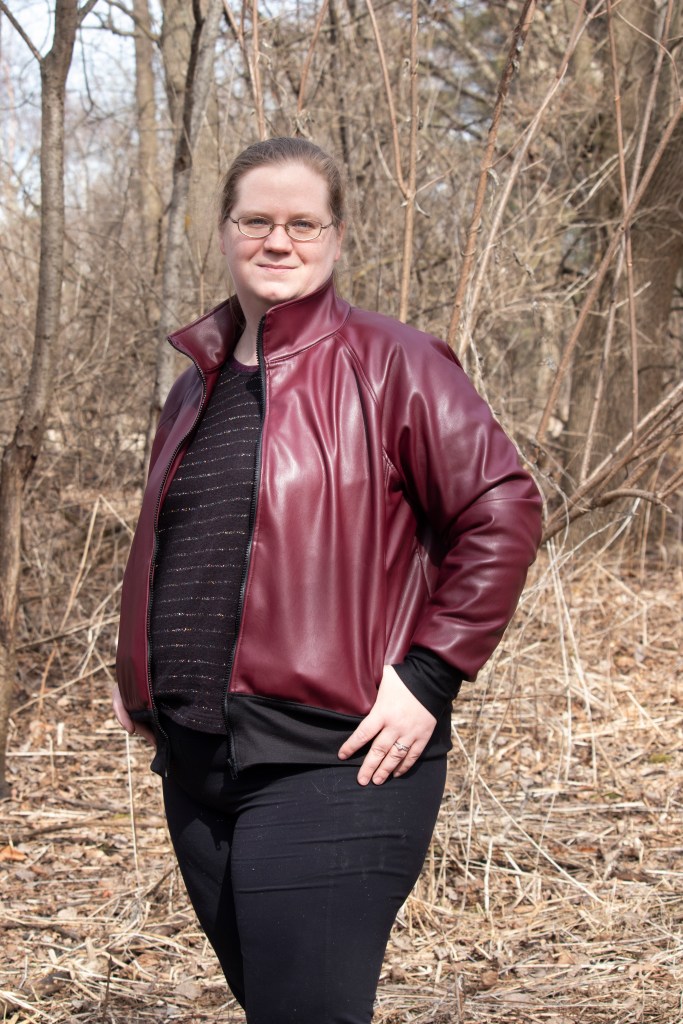
For my final jacket in the leather look I sized down one size for a slimmer fit. I love how it came out! I used some black Ponti De Roma scraps (left over from making myself some dress pants) for the cuffs and the waist band. I made sure that I didn’t use any pins on my leather look fabric, I was worried it would leave little holes in the fabric. I used pattern weights when I was cutting the fabric with a rotary cutter and clips to hold the pieces together while I was sewing it. I did have some trouble with the thicker parts while I was doing all the top stitching at the end. I ended up hand cranking the sewing machine through the thickest parts (over the seam allowances so it was only for a few stitches.) I also had to drop my feed dogs through the thickest parts as well. Also important to note: When you a making a test garment for size before using your good fabric, make sure that you use fabric that has the same stretch and similar drape. I got lucky when I sized down that the jacket still fit properly. The leather look only has 2 way stretch whereas the Ponti De Roma has 4 way stretch and it stretches more than the leather look too. I was really worried as I was cutting out my final version that it wouldn’t fit in the smaller size with only 2 way stretch.
I am thrilled with how my jacket came out! I can’t wait to make another one for my aunt as a thank you for helping my husband and I out so much lately, and for taking all the pictures for this post.
